Pasta primavera, bursting with fresh vegetables, pairs perfectly with grilled chicken seasoned with lemon and herbs, adding protein and a smoky touch. Garlic bread brings buttery, garlicky goodness that complements the vibrant veggies.
A crisp Caesar salad with tangy dressing adds a refreshing contrast to the warm, creamy pasta. These sides enhance the dish’s bright, fresh flavors.
Ready to explore the colorful and tasty world of pasta primavera? Let’s dive in!
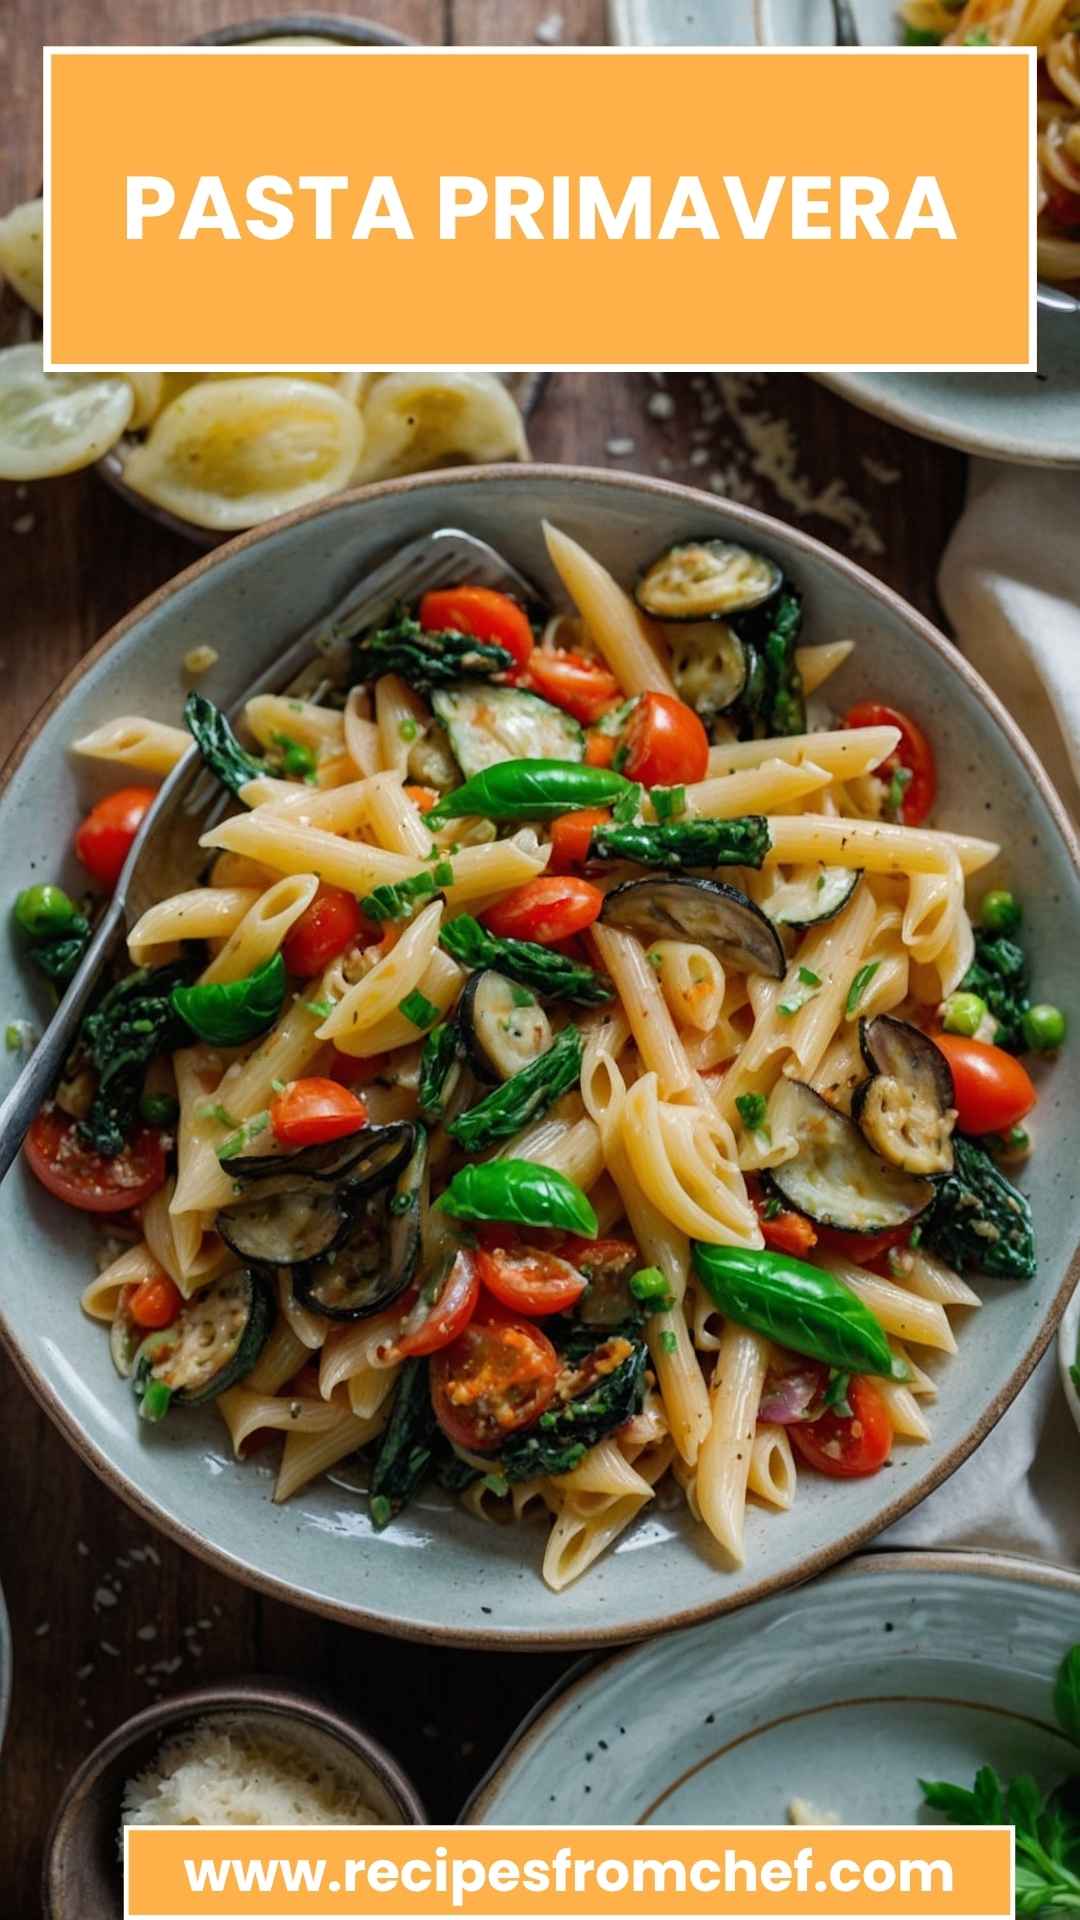
Why This Recipe Works
Making pasta primavera isn’t just about slapping a few ingredients together. It’s a carefully balanced union of tastes, textures, and nutrients. Here are four reasons why this recipe shines:
1. Vibrant Vegetables: The assortment of colorful veggies—like bell peppers, zucchini, and asparagus—adds not only bold flavors but also essential vitamins. It’s a rainbow on your plate, making it eye-catching and nutritious.
2. Flexible Ingredients: Have chickpeas lying around? Toss them in! Love garlic? Add extra! This recipe welcomes your creativity. You can easily swap in whatever produce is in season, making it versatile and adaptable.
3. Quick and Easy to Prepare: As a busy individual, I appreciate meals that come together quickly. This pasta primavera can be ready in under 30 minutes. Perfect for those weeknights when you need something fast yet fulfilling!
4. Health-Conscious and Satisfying: It’s a lightweight meal that’s still comforting. With whole grain pasta and plenty of veggies, you’ll feel satisfied without the heaviness that often accompanies pasta dishes.
How Does It Taste?
Picture this: as you twirl your fork around those tender penne noodles, you’re greeted with a medley of flavors. The nuttiness of whole-grain pasta is enhanced by the earthy notes of sautéed garlic and the freshness of basil.
Each bite offers a symphony of textures from crisp veggies and creamy cheese. The squeeze of lemon juice ties everything together beautifully, providing a zesty kick that brightens up the dish.
What Sets This Recipe Apart from Other Pasta Primavera Variations?
This pasta primavera isn’t just one among many; it embodies a few unique qualities. For one, the addition of Pecorino Romano cheese brings a delightful umami kick uncommon in standard recipes.
Furthermore, utilizing both fresh herbs like tarragon and bright green peas introduces complexity and depth.
Simply put, this dish is a celebration of the seasons. While others may pile on heavy dressings and processed ingredients, this recipe keeps it light, fresh, and authentically flavorful.
The Ingredients
Here’s a look at what you’ll need:
- 10 ounces penne pasta
- 1 cup cherry tomatoes, halved
- 2 tablespoons extra virgin olive oil, plus extra for drizzling
- 1 bunch asparagus, trimmed and chopped into 1-inch pieces
- 4 cloves garlic, thinly sliced
- 1 cup thinly sliced red onion
- 1 medium zucchini, sliced into thin half-moons
- 1 teaspoon fine sea salt
- ½ cup frozen green peas, thawed
- 1 yellow summer squash, cut into thin half-moons
- ¾ cup freshly grated Pecorino Romano cheese
- 1 cup fresh basil leaves, plus extra for garnish
- 3 tablespoons freshly squeezed lemon juice
- 2 tablespoons fresh tarragon leaves, chopped
- 1 teaspoon red chili flakes
- 1 teaspoon lemon zest
- Freshly ground black pepper, to taste
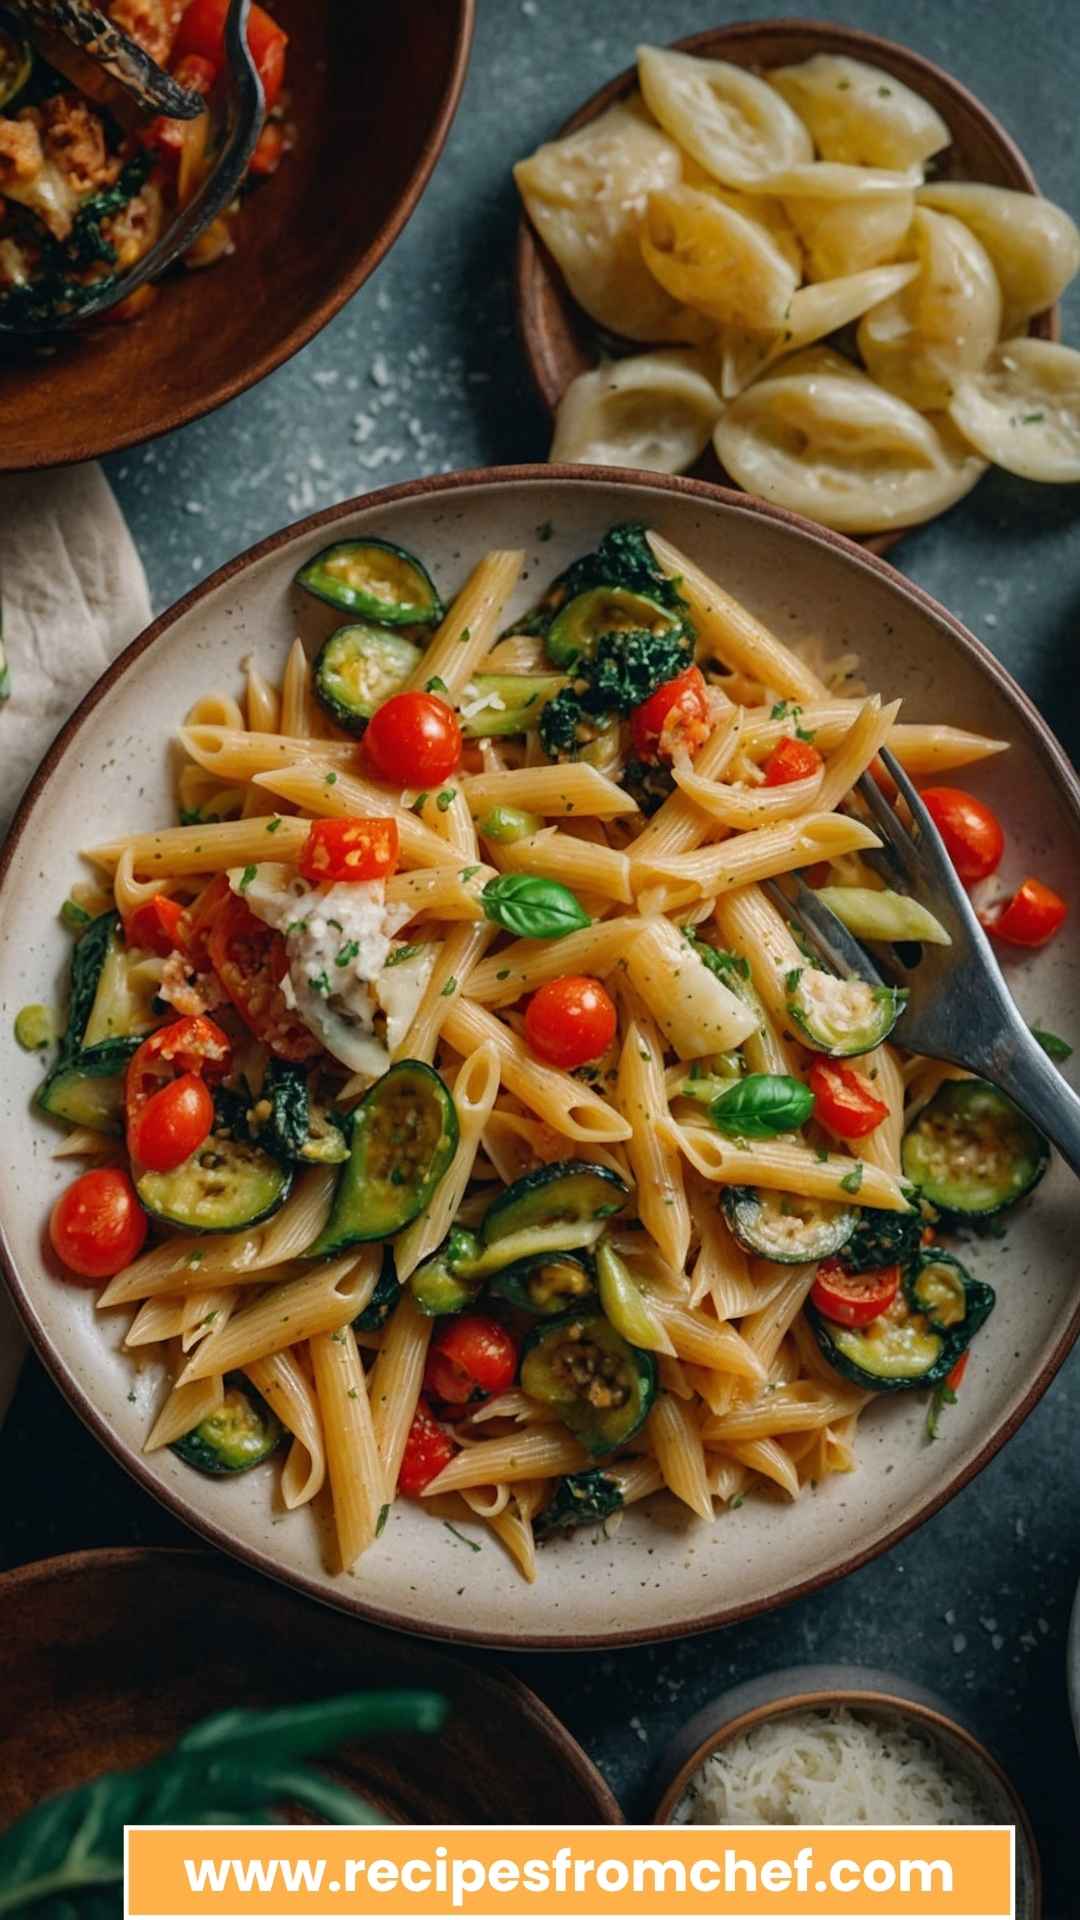
Instructions
Let’s break down the preparation step-by-step. Each part plays an essential role in crafting a delicious dish.
Step 1: Cook the Pasta
Begin by boiling a pot of salted water. Add the penne pasta and cook according to the package instructions until al dente. This usually takes about 11 minutes but keep an eye on it. Drain the pasta and set aside, reserving a cup of pasta water.
Step 2: Sauté the Aromatics
In a large skillet, drizzle in two tablespoons of extra virgin olive oil over medium heat. Add the sliced garlic, and let it sizzle for a minute until fragrant. Avoid burning it; we want a gentle sauté, not a charred mess.
Step 3: Add the Vegetables
Next, toss in the red onion, and cook until it softens, about 3 minutes. Follow with the asparagus, zucchini, yellow squash, and cherry tomatoes.
season with salt and ground black pepper. Stir frequently, letting the colors and flavors mingle and dance in the pan. This should take about 5 minutes.
Step 4: Combine Everything
Once your veggies have softened, add the green peas and cooked pasta to the skillet. Gently toss everything together. If it looks too dry, add a splash of that reserved pasta water to create a nice sauce that clings to the noodles.
Step 5: Flavor It
Remove the skillet from heat. Stir in the lemon juice, tarragon, lemon zest, and chili flakes. Toss it all together. This brings a burst of freshness that is signature to primavera.
Step 6: Plate and Garnish
Finally, serve the pasta primavera hot. Top with freshly grated Pecorino Romano and more basil for a striking presentation.
Don’t forget a drizzle of olive oil—because you can never have too much good oil, right?
Notes
Here are some handy tips to ensure your pasta primavera is a hit:
- Pick Fresh Ingredients: Fresh, seasonal produce will make a significant difference in taste. Choose vibrant vegetables for the best flavors.
- Don’t Overcook: Keep the vegetables slightly crunchy for the best textures. Overcooked veggies can become mushy.
- Experiment with Herbs: While tarragon is fantastic, feel free to substitute with parsley or oregano for different flavor profiles.
- Make It Ahead: This dish holds up well in the fridge, making it a great option for meal prep.
- Adjust Spice Levels: If you prefer a milder dish, feel free to cut back on the chili flakes or leave them out entirely.
How Do You Store This Pasta Primavera?
Storing leftovers is simple. Let the pasta cool to room temperature, then transfer it to an airtight container. It’ll keep well in the fridge for about 3-4 days.
For best results, reheat gently on the stove, adding a little water to revive the pasta’s texture.
Sides for Pasta Primavera
Pairing your dish with sides enhances the overall experience. Here are three enticing options:
- Garlic Bread: Slather on some garlic butter and toast to golden perfection. It’s a classic that complements almost any pasta dish. The crunchiness adds a fun element trying to scoop up those last bits of primavera.
- Caesar Salad: A crisp Caesar with crunchy croutons and tangy dressing will contrast beautifully with the softness of the pasta.
- Grilled Veggies: Fire up the grill! Grilling veggies like zucchini or bell peppers adds a smoky flavor that works harmoniously with the fresh pasta.
What Alternatives Can You Use for the Ingredients?
Sometimes life throws a curveball, and you’ve got to improvise. Here are alternatives you can consider:
- Pasta: Can’t find penne? Fusilli, rotini, or even spaghetti will work just fine. The important thing is to have a noodle that holds sauce well.
- Cheese: Pecorino Romano isn’t a must. Parmesan or even nutritional yeast for a vegan option can bring that cheesy flavor too.
- Veggies: Don’t have zucchini? Try bell peppers, spinach, or snap peas instead. You can mix and match based on what’s available.
- Herbs: If tarragon isn’t your jam, basil is a classic go-to. Chopped parsley or dill can work wonders too.
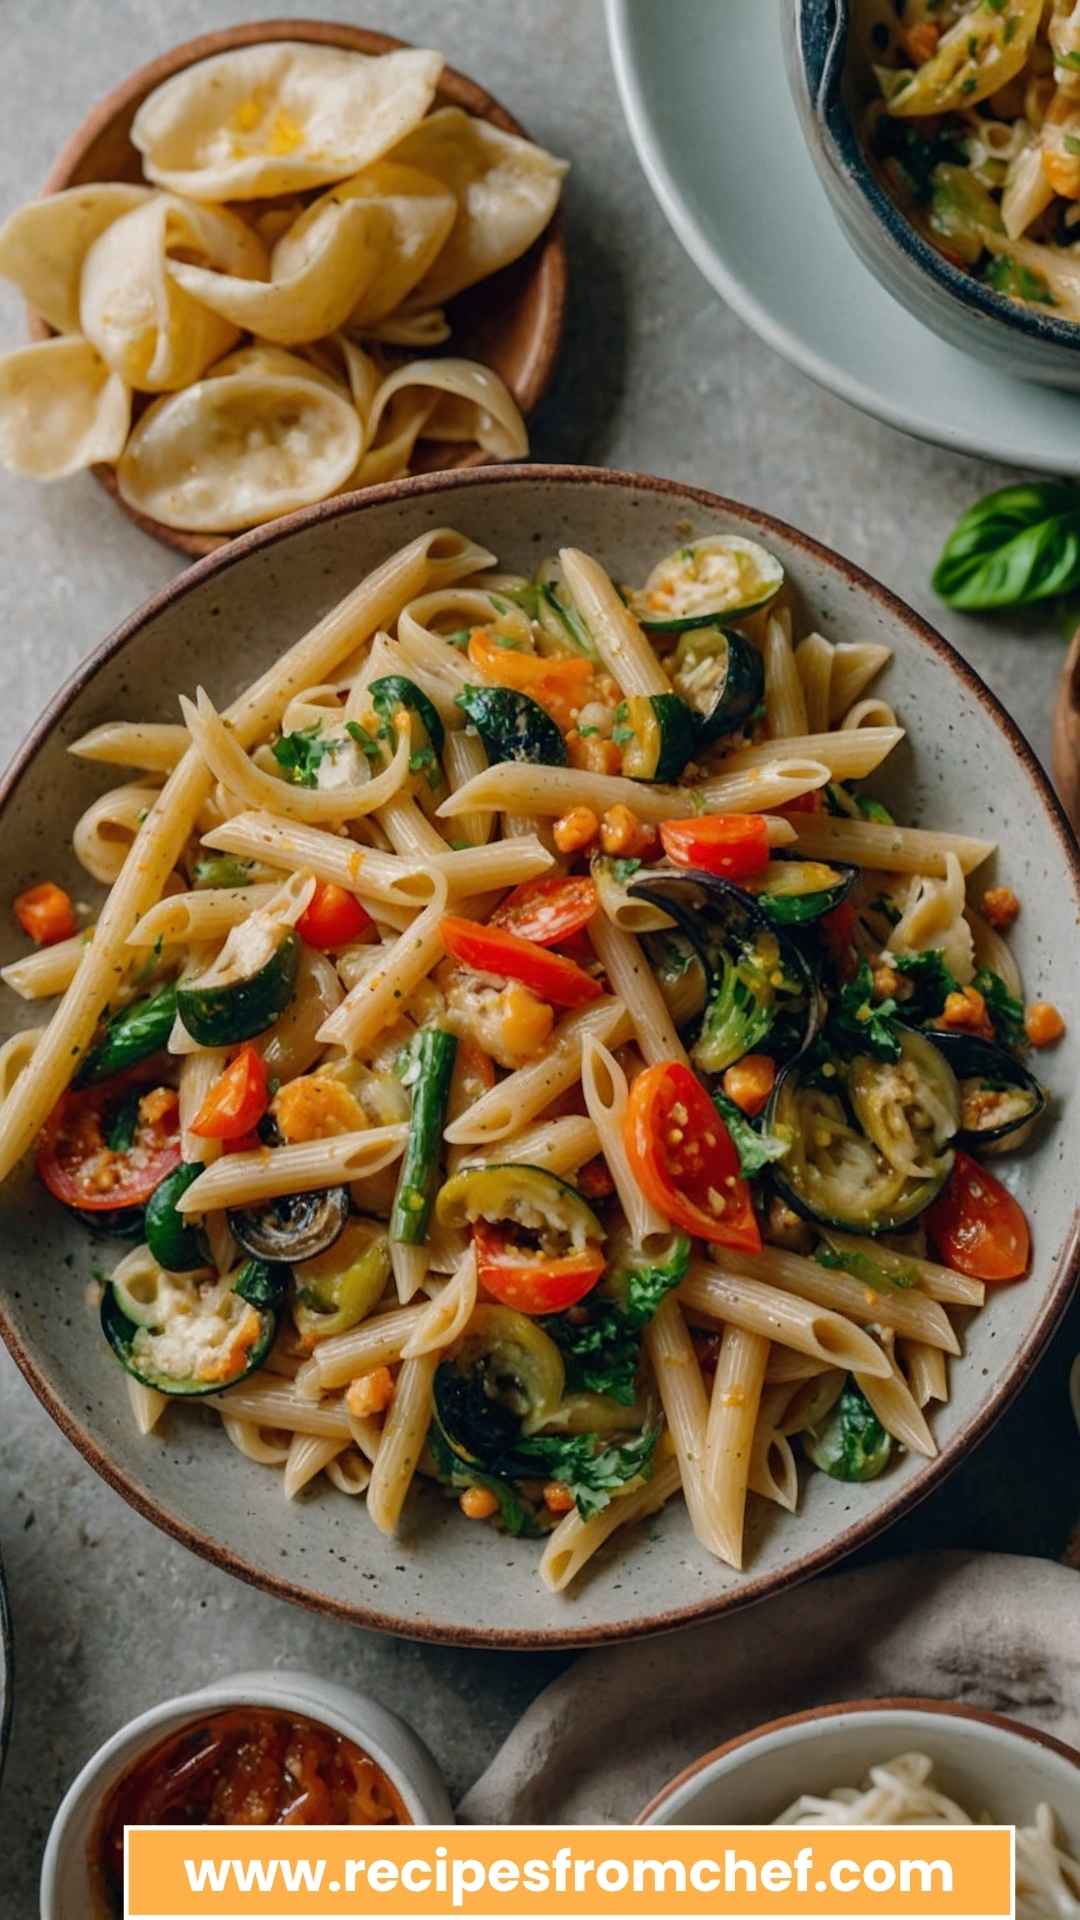
Conclusion
In conclusion, pasta primavera is not just a dish; it represents fresh, wholesome cooking at its finest. With its versatility, bright flavors, and health benefits, it’s no wonder it remains a staple in many homes.
Whether it’s for a family dinner or a sunny picnic, this dish brings joy to the table. So next time you’re at the market, remember this simple yet delicious recipe.
Grab those veggies, fire up the stove, and create a bowl of happiness that bursts with nutritional goodness. Trust me, once you try it, you will want to make it again and again!
You’ll also like the following recipes!
Pasta Primavera – Recipes From Chef
Description
It’s a sunny Saturday afternoon. You’ve just returned from the local farmers' market with a bounty of bright, fresh veggies. The thought crosses your mind—why not whip up some pasta primavera?
This dish is like sunshine on a plate, celebrating seasonal produce with every bite. As a registered dietitian and food enthusiast, I believe in the power of good food to bring people together, and pasta primavera is no exception.
What’s more, this dish is not just tasty; it’s packed with nutrition and can be customized to fit any palate.
Ingredients
Instructions
Step 1: Cook the Pasta
-
Begin by boiling a pot of salted water. Add the penne pasta and cook according to the package instructions until al dente. This usually takes about 11 minutes but keep an eye on it. Drain the pasta and set aside, reserving a cup of pasta water.
Step 2: Sauté the Aromatics
-
In a large skillet, drizzle in two tablespoons of extra virgin olive oil over medium heat. Add the sliced garlic, and let it sizzle for a minute until fragrant. Avoid burning it; we want a gentle sauté, not a charred mess.
Step 3: Add the Vegetables
-
Next, toss in the red onion, and cook until it softens, about 3 minutes. Follow with the asparagus, zucchini, yellow squash, and cherry tomatoes.
season with salt and ground black pepper. Stir frequently, letting the colors and flavors mingle and dance in the pan. This should take about 5 minutes.
Step 4: Combine Everything
-
Once your veggies have softened, add the green peas and cooked pasta to the skillet. Gently toss everything together. If it looks too dry, add a splash of that reserved pasta water to create a nice sauce that clings to the noodles.
Step 5: Flavor It
-
Remove the skillet from heat. Stir in the lemon juice, tarragon, lemon zest, and chili flakes. Toss it all together. This brings a burst of freshness that is signature to primavera.
Step 6: Plate and Garnish
-
Finally, serve the pasta primavera hot. Top with freshly grated Pecorino Romano and more basil for a striking presentation.
Don’t forget a drizzle of olive oil—because you can never have too much good oil, right?
Nutrition Facts
Servings 4
- Amount Per Serving
- Calories 274kcal
- % Daily Value *
- Total Fat 12.8g20%
- Saturated Fat 3.5g18%
- Trans Fat 0.3g
- Cholesterol 16mg6%
- Sodium 948mg40%
- Total Carbohydrate 33g11%
- Dietary Fiber 5g20%
- Sugars 6g
- Protein 9g18%
* Percent Daily Values are based on a 2,000 calorie diet. Your daily value may be higher or lower depending on your calorie needs.
Note
- Pick Fresh Ingredients: Fresh, seasonal produce will make a significant difference in taste. Choose vibrant vegetables for the best flavors.
- Don’t Overcook: Keep the vegetables slightly crunchy for the best textures. Overcooked veggies can become mushy.
- Experiment with Herbs: While tarragon is fantastic, feel free to substitute with parsley or oregano for different flavor profiles.
- Make It Ahead: This dish holds up well in the fridge, making it a great option for meal prep.
- Adjust Spice Levels: If you prefer a milder dish, feel free to cut back on the chili flakes or leave them out entirely.


