
Ingredients
Method
Step 1: Prepare Your Glaze Base
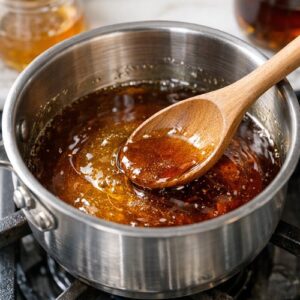
- In a small, heavy-bottomed saucepan, combine your honey and maple syrup over medium heat. Stir gently—never vigorously, as this can cause crystallization. You want the syrups to warm through and become completely fluid, which takes about 2-3 minutes. This warming step serves two purposes: it makes the syrups easier to brush onto the ham's surface, and it begins the caramelization process, deepening the flavor compounds. Don't let it boil; we're looking for gentle warmth, not aggressive heat.
Step 2: Build Flavor Complexity
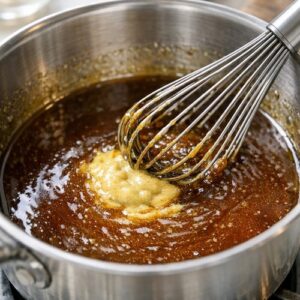
- Once your syrups are warm and slightly thinned, whisk in the Dijon mustard until completely incorporated. You'll notice the mixture darkens slightly—this is the acids beginning to react with the syrups. Add your apple cider vinegar next, stirring slowly to maintain smoothness. The mixture should look glossy and unified. Now add your ground cinnamon, clove, and freshly cracked black pepper. Whisk thoroughly, taking about 1 full minute to ensure the spices distribute evenly. Uneven spice distribution means some sections of your ham will taste different from others, so this patience pays off. The glaze should smell warm, complex, and almost medicinal at this point—that's exactly what we want.
Step 3: Incorporate Aromatics for Brightness
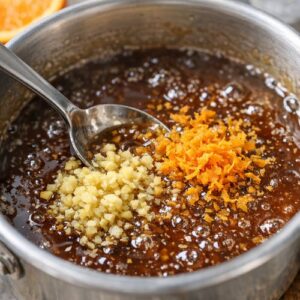
- While your glaze is still warm, stir in your minced fresh ginger and orange zest. The warmth of the glaze will release the ginger's volatile oils and bring out the orange's aromatic compounds, intensifying their presence in the final dish. Taste the glaze at this point—it should balance sweetness with tang and warmth. If it feels too thick, you can thin it slightly with 1 tablespoon of water at a time; if too thin, let it cool slightly, which will naturally thicken it. Add your sea salt last, stirring gently. Salt should always go last because it can interfere with proper mixing of honey and spices.
Step 4: Finish With Emulsification
- Remove your glaze from heat and whisk in the unsalted butter until completely incorporated. The butter serves multiple purposes: it creates a silkier texture, helps the glaze adhere to the ham's surface more evenly, and adds richness that balances the acidic elements. You should see the mixture become slightly glossier and less sticky. Let this cool to room temperature (about 15-20 minutes) before applying. A glaze that's too hot will run off the ham; one that's too cool will be difficult to brush. Room temperature gives you the perfect consistency.

Step 5: Prepare Your Ham for Glazing
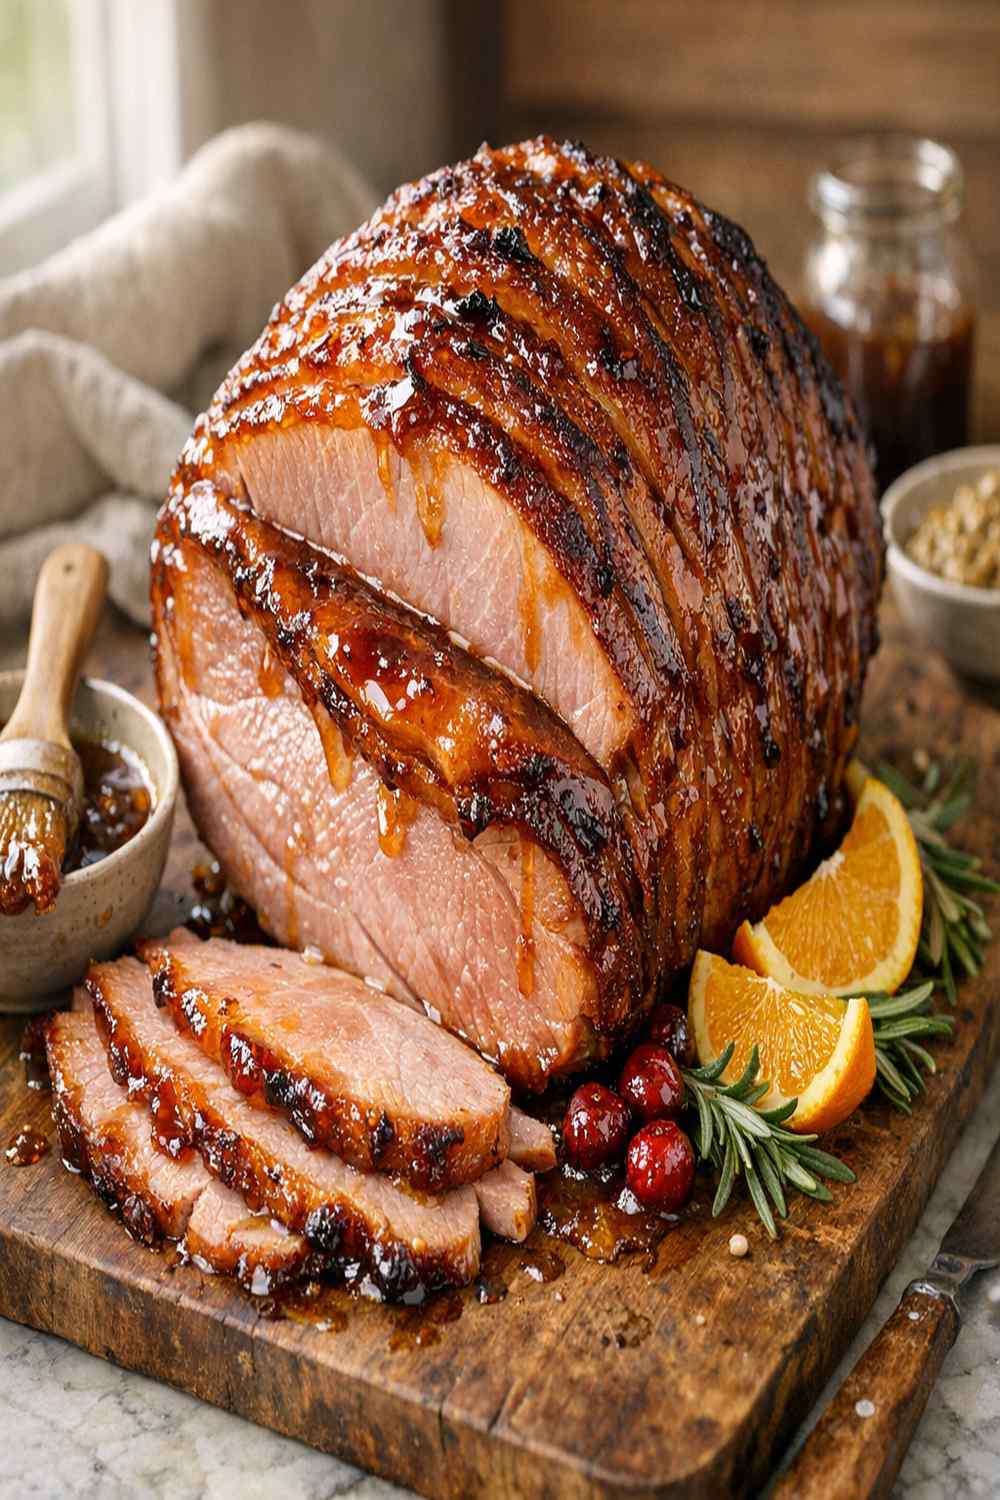
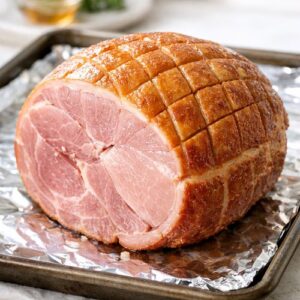
- Place your carver ham on a large baking sheet lined with foil (for easy cleanup). If your ham has a thick rind or exterior layer, score it lightly with a sharp knife in a crosshatch pattern, cutting about ¼ inch deep. These shallow cuts give the glaze something to hold onto and allow heat to penetrate slightly deeper. Pat the ham's surface dry with paper towels—moisture is the enemy of browning. Wet surfaces create steam, which prevents caramelization. A completely dry surface allows the glaze to adhere properly and brown evenly.
Step 6: Apply the First Glaze Coat
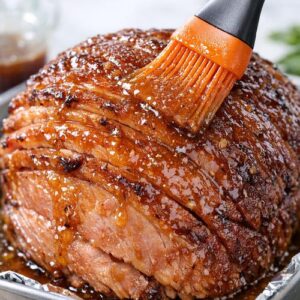
- Using a pastry brush or silicone brush, apply your room-temperature glaze in even strokes across the entire top and sides of the ham. Don't be stingy—you want a ¼-inch coating that looks wet and glossy. Use about half your glaze for this first coat. Place the ham in a preheated 350°F oven for 20 minutes. During this time, the glaze will begin caramelizing, and the ham will start releasing its own juices that will bubble up around the edges. This is exactly what should happen.
Step 7: Recoat and Build Layers
- Remove the ham from the oven and brush on your remaining glaze in the same even, generous strokes. The first layer will have set and caramelized slightly, so you're building layers of flavor here—each glaze coat adds another dimension. Return to the oven for another 20 minutes. At the end of this second baking period, your ham should have a beautiful, lacquered appearance with an amber-to-mahogany color developing.
Step 8: Final Caramelization Boost
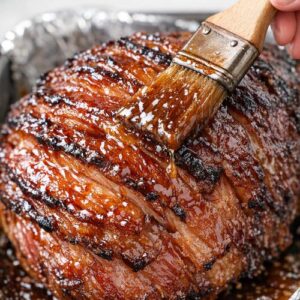
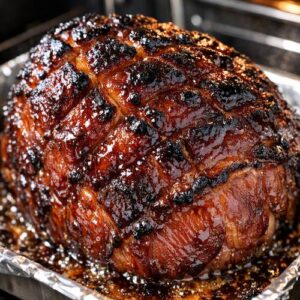
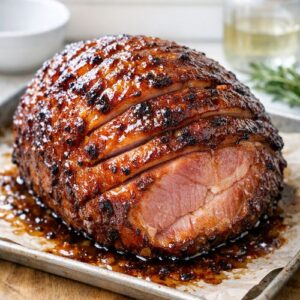
- For the final touch, increase your oven temperature to 375°F and bake for 10-15 more minutes until the glaze reaches a deep mahogany color with some darker caramelized spots. Watch carefully during this phase—you want that gorgeous color, but you don't want black, burnt spots. The glaze should look lacquered and shiny, with a slight crystallization visible on the surface. This final high-heat phase intensifies all the flavor compounds and creates that restaurant-quality finish.
Step 9: Rest Before Serving
- Remove the ham from the oven and let it rest on the baking sheet for 10-15 minutes before carving. This resting period allows the exterior to set completely and the juices to redistribute throughout the meat. Cutting immediately would cause those precious juices to run onto the plate instead of staying in the ham. When you're ready to serve, your carving knife should glide through the meat effortlessly, and each slice should have that beautiful glazed exterior.
Notes
- Brush in one direction only - This ensures an even glaze coat and prevents the mixture from pooling. Think of painting a wall, not scrubbing it. Unidirectional brushing creates a smoother, more professional appearance and helps the glaze adhere more evenly.
- Keep your oven door closed between applications - Every time you open the door, the internal temperature drops significantly. This interruption slows the caramelization process and can create uneven browning. Plan your basting schedule before you start so you minimize door openings.
- Use a meat thermometer for doneness, not appearance - Ham is typically pre-cooked when you purchase it, but you want to ensure it reaches an internal temperature of 140°F for food safety. The glaze can caramelize while the interior is still cold, so never rely on color alone. Insert your thermometer into the thickest part without touching bone.
- Save the drippings for gravy - The pan juices that accumulate during cooking are liquid gold. Deglaze the pan with a splash of apple cider or chicken broth to create an incredible sauce that complements both the ham and traditional sides.
- Make your glaze the night before - Prepare the glaze up to 24 hours in advance and store it in the refrigerator. This allows the spices to marry and deepen in flavor. Simply bring it to room temperature before applying to your ham.