
Ingredients
Method
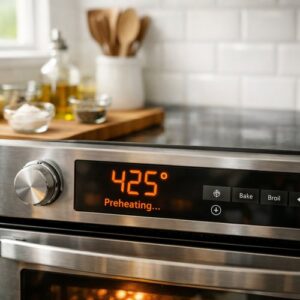
Step 1: Prepare Your Workspace and Preheat
- Set your oven to 425°F and allow it to fully preheat—this takes about 15 minutes. The high temperature is critical for achieving what we call the Maillard reaction, the chemical process where proteins and sugars create those delicious browned, crispy flavors. While your oven heats, line a baking sheet with parchment paper or foil, which prevents sticking and makes cleanup effortless. Unlike non-stick sprays that contain additives, parchment paper is a clean choice. Position your oven rack to the center position so heat circulates evenly around the chicken.
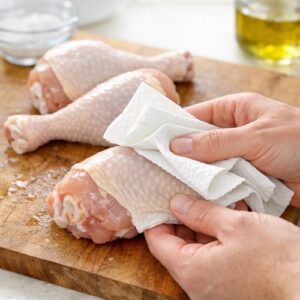
Step 2: Prepare the Chicken Properly
- Remove your drumsticks from the refrigerator and gently pat them completely dry with clean paper towels—this is non-negotiable for crispy skin. Moisture is the enemy of crispiness because it prevents browning. Take your time with this step; it takes about two minutes but makes an enormous difference. Once dry, place the drumsticks in a large mixing bowl. This gives you space to toss everything thoroughly without making a mess.
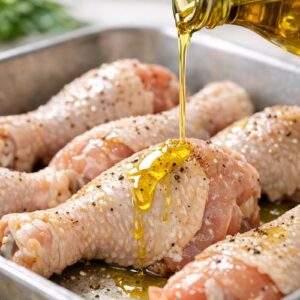
Step 3: Apply the Oil Strategically
- Drizzle your 1.5 tablespoons of extra virgin olive oil directly over the drumsticks. Using good quality olive oil matters because it contains polyphenols that survive high heat cooking and contribute subtle fruity notes. Now toss everything together with your hands—get in there and massage the oil into the skin, using your fingers to ensure every piece gets coated. This direct approach gives you better control than a spoon and helps you feel the texture you're working with. The oil should glisten on the skin; you're not creating a heavy coating, just a light sheen that will crisp up beautifully.
Step 4: Build the Spice Blend
- In a small bowl, combine your sea salt, freshly ground black pepper, garlic powder, smoked paprika, chili powder, and onion powder. Give it a quick stir with a fork to break up any clumps in the garlic or onion powder—these powders can compress during storage. The beauty of this combination is that you're layering different flavor profiles: the warm sweetness of paprika, the savory umami of garlic and onion, the subtle heat of chili, and the aromatic bite of pepper. Together, they create a complex seasoning blend that makes you forget you're eating "healthy food."
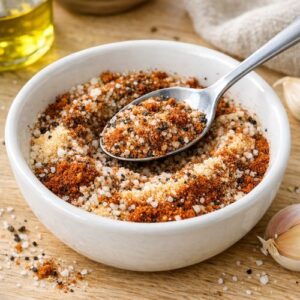
Step 5: Season Generously and Evenly
- Sprinkle your spice blend over the oiled drumsticks. Now—and this is important—toss everything together thoroughly, using both your hands and a wooden spoon to ensure every single piece of chicken gets coated with the seasoning mixture. Spend about a full minute on this step. You want the spices clinging to the oiled skin rather than settling at the bottom of the bowl. Uneven seasoning leads to disappointing bites, and we're not settling for that.
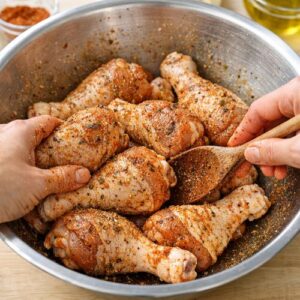
Step 6: Arrange and Roast with Purpose
- Place the seasoned drumsticks on your prepared baking sheet in a single layer, leaving about a half-inch of space between each piece. This spacing allows hot air to circulate all around each leg, promoting even cooking and crispy skin on all sides. Don't crowd the pan—I know it's tempting to fit more in one go, but it creates steam rather than that coveted crispiness. Slide the baking sheet into your preheated 425°F oven and set a timer for 40 to 45 minutes. During cooking, you don't need to flip the chicken. The elevated temperature and the way we've prepared it allows the bottom to crisp nicely without turning. I like to check at the 25-minute mark just to ensure everything's browning evenly—if one area seems darker, you can rotate the pan. At 40 minutes, insert an instant-read thermometer into the thickest part of the largest drumstick without touching bone. You're looking for an internal temperature of 165°F or higher. This is the food safety standard and ensures harmful bacteria are eliminated while the meat remains juicy.
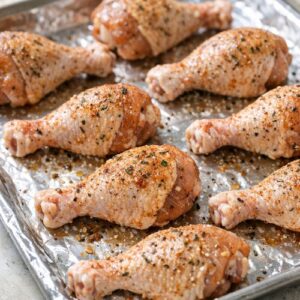
Step 7: Rest and Optional Brightness
- Remove your drumsticks from the oven when they reach 165°F and let them rest on the baking sheet for 5 minutes. This rest period allows juices to redistribute throughout the meat, keeping it moist rather than having everything rush out when you bite in. If you're using the optional lemon juice, squeeze it lightly over the hot chicken now—the heat will help release the citric acid's brightening effects, and it adds a subtle complexity that makes people ask for your recipe.