Ingredients
Method
Step 1: Build Your Pastry Foundation with Cold Butter Control
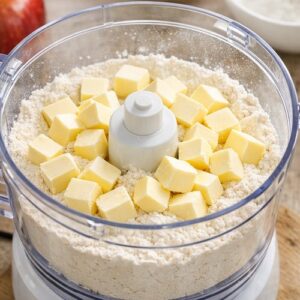
- In a food processor, pulse together your flour, sugar, and salt. This dry combination is your blank canvas. Now add those cold, cubed butter pieces. Here's the restaurant secret I'm sharing: pulse at one-second intervals, about 10 times total, until the butter pieces are roughly the size of small peas. Don't over-process. You want visible butter specks, not a fine meal. Those specks will steam in the oven and create those beautiful flaky layers. Add your ice water—start with five tablespoons—and pulse another 10 times until the mixture looks crumbly but holds together when you pinch it between your fingers. The dough should feel slightly moist but not wet. If it's too dry, add another tablespoon of ice water and pulse again. Here's a technique professional pastry chefs use: wrap the dough in a clean kitchen towel, grab the four corners, and twist gently to create a purse shape, pressing the dough into a rough disk as you twist. This method prevents overworking the dough while bringing everything together beautifully.
Step 2: Roll and Fit with Professional Precision
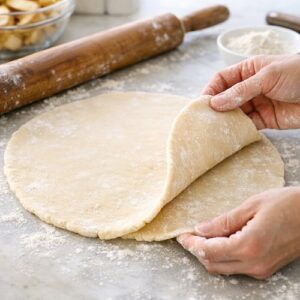
- On a lightly floured surface, roll your dough into a 12 or 13-inch round. Use this technique that restaurants swear by: flip the dough every few rolls and dust lightly with flour as needed to prevent sticking. This prevents the bottom from becoming compacted while creating an even thickness throughout. Transfer the rolled dough to your tart pan with removable bottom. Press gently into the corners and up the sides—don't stretch it, as it will shrink back. Trim any excess pastry around the edges. If you have scraps, save them; you can patch any cracks before baking. Transfer to your freezer for 30 minutes. This resting period is non-negotiable. It allows the gluten to relax and helps the pastry maintain its shape in the oven instead of slumping.
Step 3: Prepare Your Oven and Position
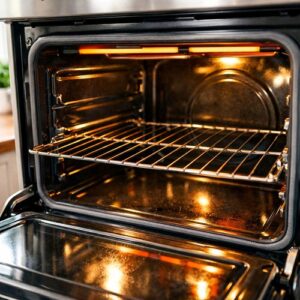
- While your pastry rests, preheat your oven to 425°F with the rack positioned in the center. A hot oven is essential for creating that shattered texture in the crust. At this temperature, steam develops quickly, creating those coveted flaky layers before the pastry sets.
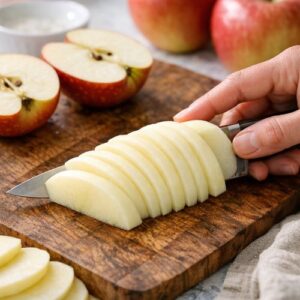
Step 4: Slice Apples for the Perfect Fan Effect
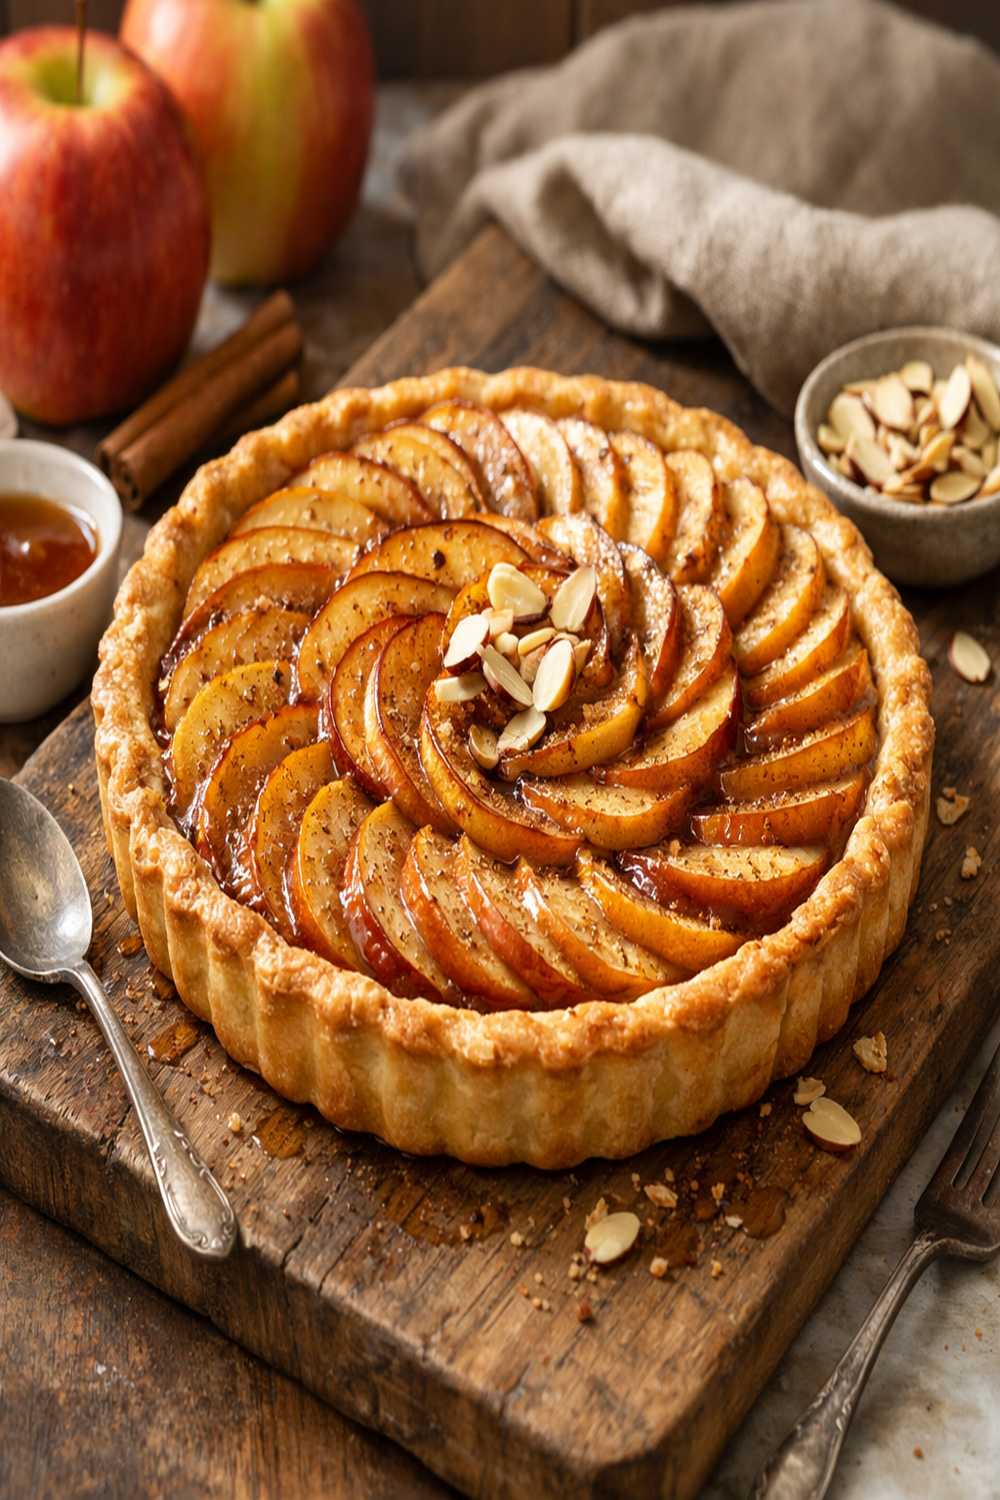
- This is where your tart becomes visually stunning. Cut the flat "cheeks" from each apple, making four large pieces—each piece will have one beautiful flat side and the flesh close to it. Discard the core. Lay each cheek flat-side down on your cutting board and slice thinly—about 1/8 inch thick—keeping all the slices together as you work. When you have four or five apple fans ready, arrange them on your chilled pastry base in whatever pattern appeals to you. Overlap them in concentric circles, create a free-form design, or arrange them in neat rows. The visual composition matters because you're creating a home version of restaurant-quality presentation.
Step 5: Season and Prepare for Baking
- Sprinkle your arranged apples evenly with the 1/4 cup granulated sugar. Tear small pieces from your 1/4 cup cold butter and distribute them across the apples—these will melt and caramelize with the sugar during baking. Place your tart on a rimmed baking sheet (I line mine with parchment paper for easy cleanup, though it's not essential). Transfer to your preheated 425°F oven for 35 to 40 minutes. After 15 minutes, check the browning. If the edges or apples are browning too quickly, lower the temperature to 400°F. I find that 425°F works perfectly for most home ovens, but every oven has personality. For a professional finishing touch, switch your oven to convection bake during the last 2 to 3 minutes. This intensifies caramelization, giving the apples that stunning golden-bronze finish. (This step is entirely optional—the tart tastes wonderful without this extra caramelization step, but it's worth the extra minute for visual drama.)

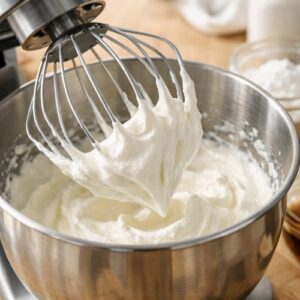
Step 6: Whip the Cream While Tart Cools Slightly
- Pour your heavy cream into the bowl of a stand mixer (or use a regular bowl and handheld whisk). Whip on medium speed until soft peaks form—this means the cream holds a gentle peak that falls back slightly when you lift the whisk. This takes about 2 to 3 minutes with a stand mixer, or 5 to 7 minutes by hand. Add 1/4 cup powdered sugar and beat again until medium peaks form—slightly firmer than soft peaks. Taste, and add more powdered sugar if you prefer it sweeter. Add a generous pinch of flaky sea salt and beat to combine. The salt should be noticeable but not overwhelming; it creates balance and sophistication.
Step 7: Serve with Intention
- Remove your tart from the oven when the pastry is golden and the apples are caramelized at the edges. Let it cool for 5 to 10 minutes before serving—this allows the filling to set slightly while the tart remains warm. Serve with generous dollops of your salted whipped cream. This tart is equally delicious served warm or at room temperature, making it perfect for entertaining.