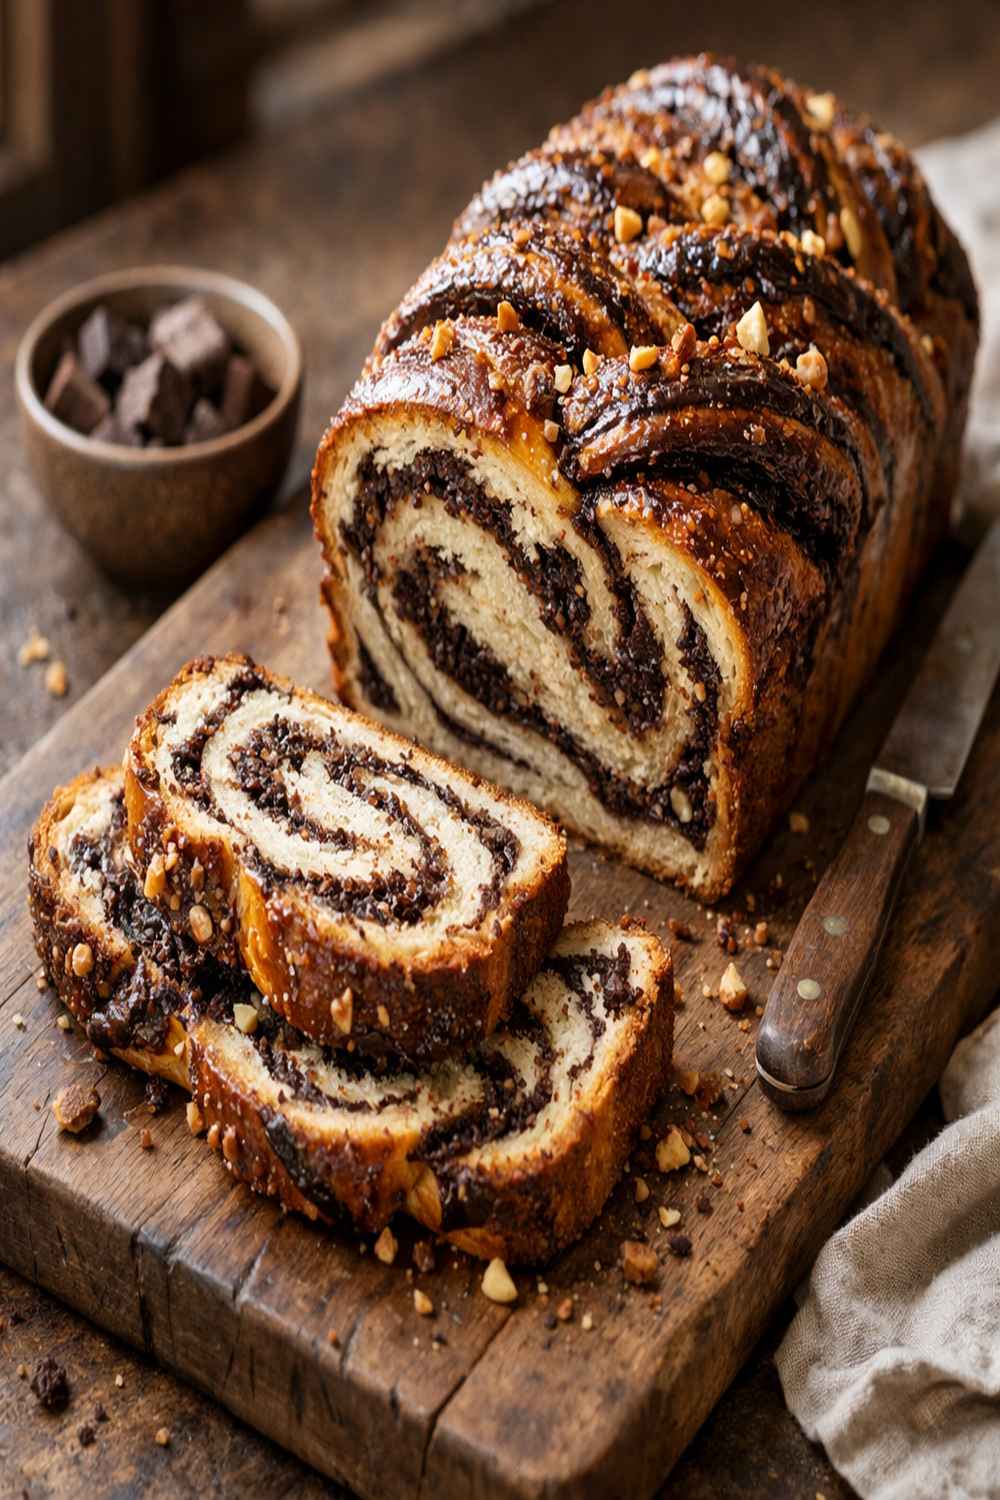

Ingredients
Method
Step 1: Activate Your Yeast and Create the Dough Base
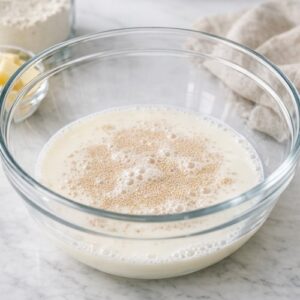
- In a large mixing bowl, combine your room-temperature milk with the instant yeast and let it sit for about two minutes. This isn't strictly necessary with instant yeast, but it gives you a visual confirmation that your yeast is alive and active. You should see tiny bubbles forming—that's the sign you're ready to proceed. Add your sugar, eggs, and vanilla extract to the milk-yeast mixture. For vegan versions: your flax eggs should be fully prepared 15 minutes before this step. For all versions: whisk these wet ingredients together until well combined, about one minute of vigorous mixing. In a separate bowl, whisk together your flour and salt. For gluten-free versions: sift your GF flour blend with the salt to aerate and remove any lumps that can create dense spots in your crumb. Gradually add your dry ingredients to the wet ingredients, stirring with a sturdy wooden spoon or the paddle attachment of your stand mixer. Mix until you have a shaggy, rough dough that pulls away from the bowl sides. This should take about two minutes.
Step 2: Add Butter and Develop the Dough
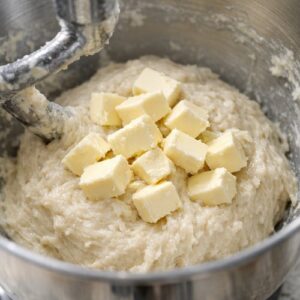
- Now comes the part that intimidated me for years: adding softened butter to a wet dough. Cut your butter into small tablespoon-sized pieces. For dairy-free versions: your coconut oil should be at room temperature but not melted. Add the butter pieces one at a time, allowing each addition to mostly incorporate before adding the next. This process takes about five to seven minutes total. Your dough will look greasy and messy—that's exactly right. You're creating an emulsion where butter, eggs, and flour become a cohesive structure. Once all butter is incorporated, switch to the dough hook attachment if using a stand mixer. For keto versions: expect this dough to be noticeably denser and heavier than traditional babka dough; this is normal. Knead on medium speed for about eight minutes until the dough becomes smooth, elastic, and pulls away cleanly from the bowl. It should feel slightly sticky but not wet.
Step 3: First Rise (Bulk Fermentation)
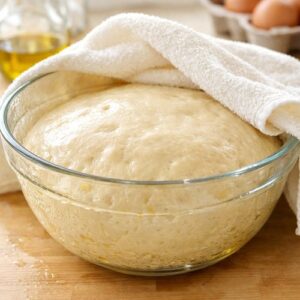
- Transfer your dough to a lightly oiled bowl. Turn it to coat all sides with a thin layer of oil. Cover with a damp kitchen towel or plastic wrap. Let it rise in a warm spot (around 75-78°F) for about one hour, or until doubled in volume. Expert's Nutritional Tip: During fermentation, the yeast and bacteria in the dough begin breaking down gluten and producing lactic acid, which increases mineral bioavailability. This means your body can absorb more zinc, iron, and magnesium from the flour. For all versions: this slow fermentation is where the real nutrition magic happens, so don't rush it. You'll know it's ready when you gently poke the dough and the indentation stays rather than bouncing back immediately. For gluten-free versions: this rise might be slightly shorter (45-50 minutes) since GF dough doesn't develop gluten network as efficiently.
Step 4: Prepare Your Chocolate Filling
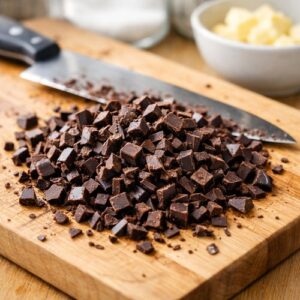
- While your dough rises, create the filling that makes babka absolutely irresistible. Chop your dark chocolate into small, uniform pieces—about the size of chocolate chips. This ensures even melting and distribution throughout the filling. In a small saucepan over low heat, combine your ½ cup butter and heavy cream. For vegan versions: use vegan butter and canned full-fat coconut milk. For dairy-free versions: use coconut oil and coconut milk. Heat gently, stirring occasionally, until the butter is melted and the mixture is steaming but not boiling. Remove from heat and add your chopped chocolate. Let it sit for one minute—this residual heat is usually enough to melt the chocolate completely. Stir gently and smoothly until you have a glossy, homogeneous ganache. For keto versions: use only high-quality dark chocolate with minimal added sugars. Stir in your unsweetened cocoa powder, ⅓ cup granulated sugar (or keto sweetener), ground cinnamon, and a tiny pinch of salt. Mix until perfectly smooth. For all versions: let this filling cool to room temperature—about 20 minutes—before using. If it's too warm, it will make your dough sticky and difficult to handle.
Step 5: Shape and Spiral
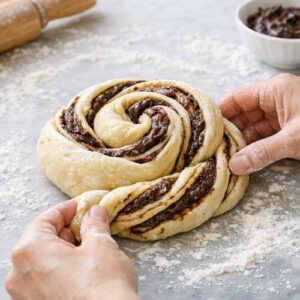
- Once your dough has doubled, turn it out onto a lightly floured work surface. For gluten-free versions: dust with GF flour blend instead. Don't punch it down aggressively; rather, gently deflate it by pressing with your fingertips. Using a rolling pin, gently roll your dough into a large rectangle, approximately 16 inches by 12 inches. The dough should be about ¼-inch thick—thin enough to roll easily, but thick enough to hold filling without tearing. For keto doughs: these are more fragile; work slowly and patch any tears gently with dough scraps. Spread your cooled chocolate filling evenly across the entire surface of the dough, leaving about a ½-inch border on all sides. Use an offset spatula to create an even layer. Don't be tempted to use more filling—too much will ooze out during baking. Starting from one long side, roll the dough tightly toward you, creating a long spiral log. For all versions: this is a crucial moment—roll slowly and deliberately, keeping tension consistent so the spirals stay even. Seal the final edge by pressing gently with your fingers.
Step 6: Create the Signature Twist
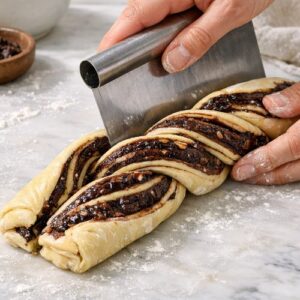
- This is what makes babka different from a simple chocolate roll. You're going to create a beautiful twisted loaf. Using a sharp knife or bench scraper, carefully cut your log in half lengthwise, creating two long strands. For gluten-free doughs: use a serrated knife and a gentle sawing motion rather than pushing straight down. Twist these two strands around each other, maintaining the spiral orientation as you twist. This takes practice and patience—you want the spirals to remain visible as you wind them together. Coil the twisted dough into your prepared loaf pan (8x4 inches), tucking the ends under to create a compact loaf.
Step 7: Second Rise (Final Proof)
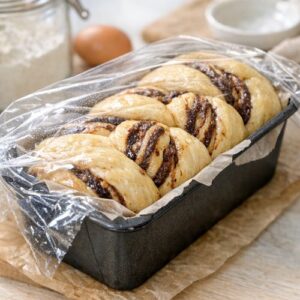
- Cover your loaf pan loosely with plastic wrap or a damp towel. Let it rise in a warm spot for 45 minutes to one hour, until the dough rises just above the rim of the pan and jiggles slightly when you gently shake the pan. For all versions: avoid over-proofing. A slightly under-proofed babka is better than one that's over-proofed, which will collapse during baking and create a dense crumb. If you're unsure, poke it gently—it should hold a slight indentation but bounce back slightly. About 30 minutes before you plan to bake, preheat your oven to 350°F. For convection ovens: reduce temperature to 325°F and reduce baking time by about 5 minutes. Position your oven rack to the lower-middle position so the bottom can bake thoroughly without the top burning.
Step 8: Bake to Golden Perfection
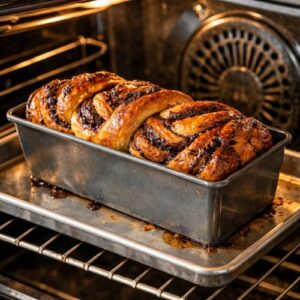
- Place your loaf pan on a sheet pan (to catch any drips) and transfer it to your preheated oven. Bake for 35-45 minutes, depending on your oven and how perfectly your dough proofed. For gluten-free versions: bake closer to 45 minutes; they need slightly longer to set completely. The babka is done when the top is deep golden brown and a skewer inserted into the center comes out clean or with just a few moist crumbs. Don't overbake or the chocolate filling will become dry. For all versions: if the top is browning too quickly, loosely tent with foil for the last 10 minutes of baking. Remove from the oven and let cool in the pan for 10 minutes. This resting period allows the crumb to set so it slices cleanly. Turn it out onto a wire rack and cool completely—at least one hour—before glazing.
Step 9: Create the Signature Glaze
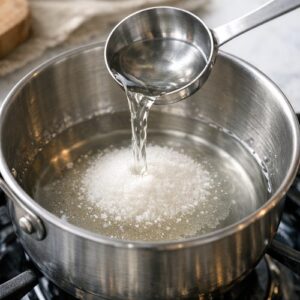
- While your babka cools, prepare your beautiful glaze. In a small saucepan, combine ⅓ cup water and ⅓ cup granulated sugar (or appropriate keto sweetener). Heat over medium, stirring occasionally, until the sugar dissolves completely and the mixture comes to a gentle simmer. Remove from heat and stir in your ¾ cup powdered sugar and ⅓ cup unsweetened cocoa powder, whisking until completely smooth. For all versions: sift the cocoa powder and powdered sugar together first if lumps are visible; a lumpy glaze creates an uneven appearance. Let the glaze cool for about five minutes until it reaches a pourable consistency. It should coat a spoon smoothly but still drip slowly. For keto versions: if using erythritol-based sweeteners, add them after the mixture cools slightly, as heat can affect their sweetness. Using a pastry brush or small spoon, generously coat the top and sides of your completely cooled babka with the glaze. For restaurant-quality presentation: let the excess drip naturally down the sides rather than trying to control it perfectly. That's where the elegance lives.
Notes
- Using cold ingredients: Butter, eggs, and milk all need to be at room temperature. Cold ingredients won't incorporate smoothly into the dough, creating a streaky, uneven crumb. If you forget, submerge eggs in warm water for five minutes and leave butter on the counter for 30 minutes.
- Overfilling the chocolate layer: It's tempting to add extra chocolate, but too much will leak out during baking, making a mess and creating dry spots in your loaf. The ⅓ cup filling ratio I've given you is tested and perfected for the dough amount.
- Rushing the proofing stages: Both rises are essential for developing flavor and structure. A rushed babka will taste yeasty and flat. Even if it takes a bit longer than timing suggests, wait until the dough shows visual signs of readiness—the indentation test and jiggle test are your friends.
- Baking at the wrong temperature: Too hot and the outside burns before the inside bakes; too cold and you get a pale, dense loaf. Use an oven thermometer—many home ovens run 25-50°F off from what the dial says. This single tool solved more baking failures than anything else in my kitchen.