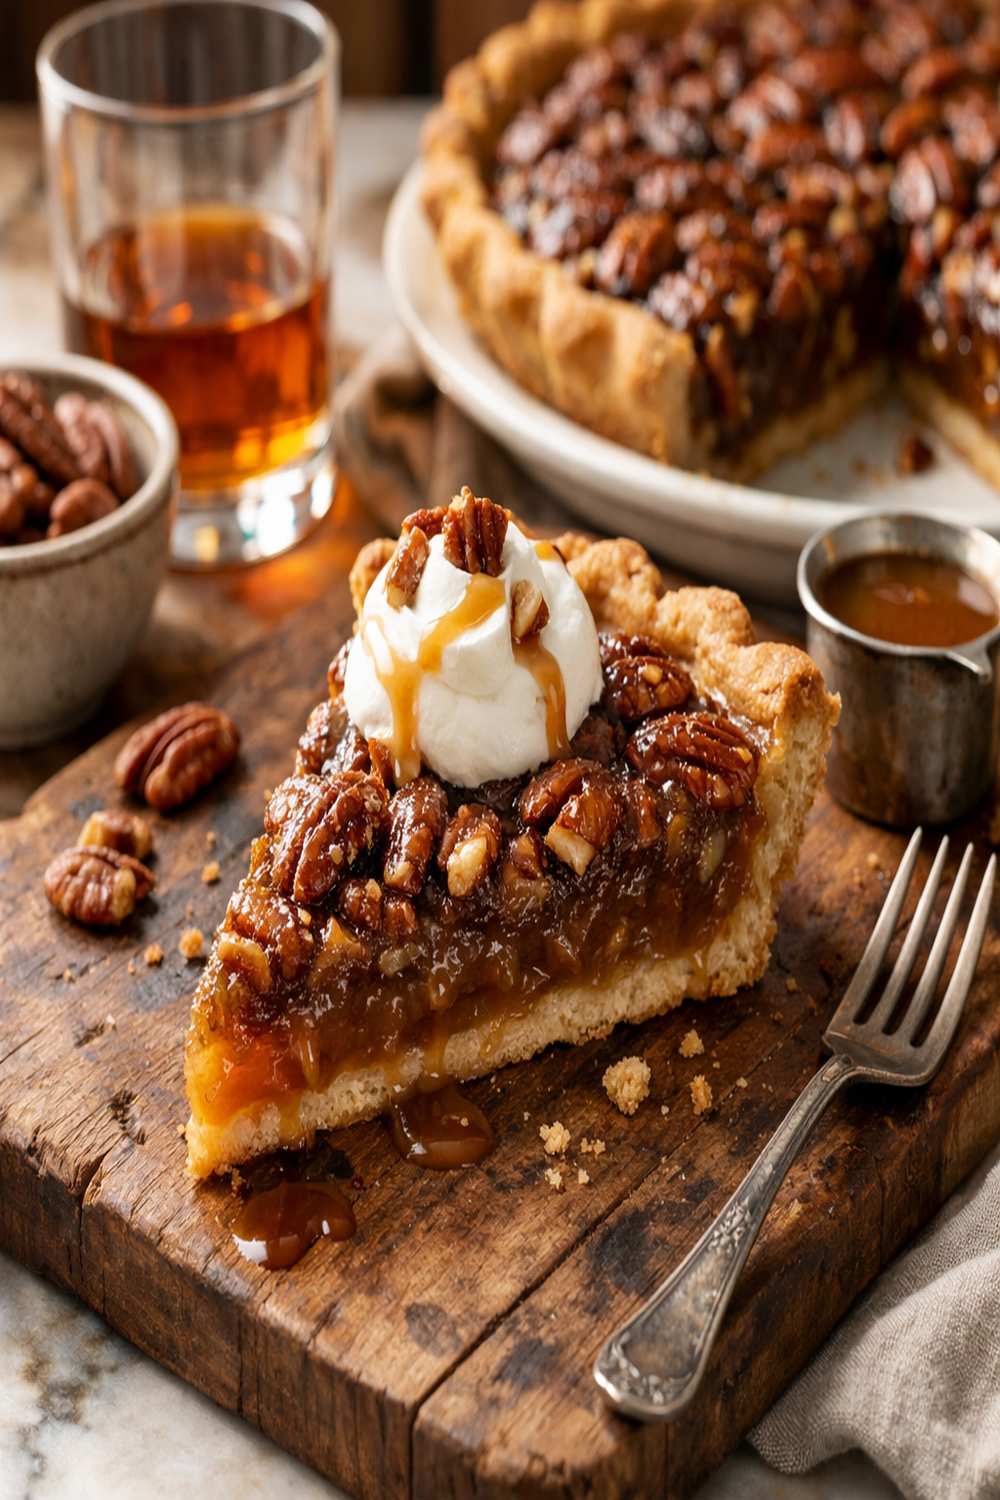

Ingredients
Method
Step 1: Prepare Your Pie Shell
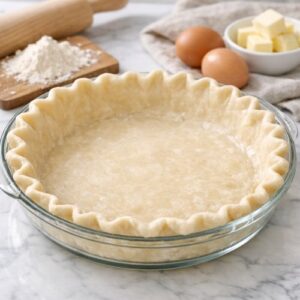
- Begin by either preparing your own pie crust from scratch or using quality store-bought dough. If making from scratch, I recommend a simple food processor method: pulse together 1¼ cups all-purpose flour, ½ teaspoon salt, and 1 tablespoon sugar, then add 6 tablespoons cold unsalted butter cut into pieces and pulse until the mixture resembles coarse sand. Add 3-4 tablespoons ice water one tablespoon at a time, pulsing just until the dough comes together. Press the dough into your 9-inch pie pan, creating an even thickness along the bottom and sides. The traditional method here is crucial: prick the entire bottom and sides with a fork at roughly ½-inch intervals. This prevents the crust from puffing up and ensures even baking. This step, while simple, demonstrates respect for proper pie construction. Place the prepared shell in your freezer for at least 15 minutes while you preheat your oven to 375 degrees Fahrenheit. This chilling step is traditional for good reason—it helps the crust maintain its structure and prevents excessive shrinking during baking.
Step 2: Mix the Filling with Care
- In a medium bowl, combine your 3 room-temperature eggs and whisk them lightly until just blended. This gentle approach prevents incorporating excess air, which can create a separated or curdled filling. Add the 1 cup granulated sugar and whisk until the mixture becomes pale and slightly thick—approximately 1-2 minutes. This traditional step isn't just about mixing; you're creating the foundation for your custard's texture. Now add both the light and dark corn syrups (½ cup each) and whisk thoroughly until fully combined. The syrups should distribute evenly throughout the egg mixture, creating a uniform golden color. Slowly pour in your melted (but slightly cooled) ⅓ cup unsalted butter while whisking constantly. Never add hot melted butter directly to eggs—the temperature difference can scramble them. This caution reflects traditional cooking wisdom developed through countless kitchen lessons over generations. Add your 2 tablespoons bourbon, 1 teaspoon vanilla extract, and ¼ teaspoon fine sea salt. Whisk until the mixture is completely smooth and homogeneous. The filling should be glossy and unified in color. Set aside.

Step 3: Layer the Pecans
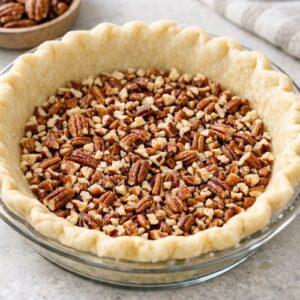
- Remove your prepared pie shell from the freezer. Spread your 1¼ cups coarsely chopped pecans evenly across the bottom of the unbaked shell. This traditional layering method ensures that each slice contains pecans throughout rather than concentrating them in one area. The reason pecans go in first (rather than mixing them into the filling) is authentically important: this method keeps the nuts from sinking to the bottom during baking. As the filling sets, the nuts stay suspended at various levels, creating better texture distribution in each slice.
Step 4: Pour and Bake
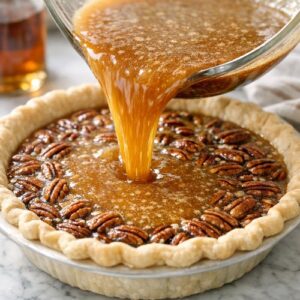
- Carefully pour your prepared filling mixture over the pecans, filling the shell completely but leaving about ¼ inch of space at the rim to prevent overflow. Place the pie on a baking sheet (for easier handling and to catch any drips) and transfer it to your preheated 375-degree oven. Bake for 35 to 45 minutes, watching carefully during the final minutes. The traditional endpoint is when the filling is set around the outer 2 inches but the center still jiggles slightly when you gently shake the pan—this is absolutely crucial. The center should look barely underdone; don't be tempted to bake longer. This requires faith in the process, but it's how you achieve the proper custard-like texture. The residual heat will continue cooking the center after you remove it from the oven.
Step 5: Cool Properly
- Remove the pie from the oven and place it on a wire cooling rack. Let it rest undisturbed for 10-15 minutes before serving, or allow it to cool completely (approximately 2 hours) for cleaner slices. The cooling phase is traditional for important reasons: it allows the filling to set completely, developing its silky texture. Cutting warm pie results in a runny, messy presentation, while a fully cooled pie cuts cleanly and beautifully.