
Ingredients
Method
Step 1: Prepare Your Station and Oven
- Start by preheating your oven to 425°F and gathering all your ingredients on the counter in the order you'll use them. This process, called mise en place in professional kitchens, prevents forgotten ingredients and keeps you moving efficiently. Line a twelve-cup muffin tin with paper liners or spray with nonstick spray. Paper liners make cleanup nearly effortless and are compostable—no extra waste from your meal prep routine.

Step 2: Combine All Dry Ingredients in One Bowl
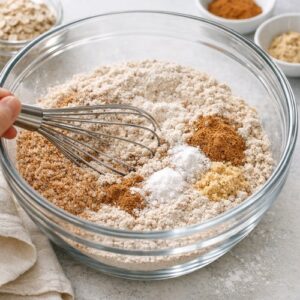
- In a large mixing bowl, whisk together the whole wheat flour, wheat bran, baking powder, baking soda, fine salt, cinnamon, and ginger if you're using it. Whisk for about thirty seconds to distribute the leavening agents and spices evenly throughout the flour. This step is crucial because it prevents pockets of baking soda in your finished muffins. Set this bowl aside and don't walk away—you're building momentum now.
Step 3: Combine All Wet Ingredients in a Second Bowl
- In a medium mixing bowl, whisk together the room-temperature egg, maple syrup or honey, melted coconut oil, applesauce, vanilla extract, and plant-based or dairy milk. Whisk until the mixture is completely homogeneous—about one full minute of steady whisking. You're creating an emulsion here; the vigorous whisking helps the fat and liquid combine smoothly, which translates to a tender muffin with no greasiness.

Step 4: Combine Wet and Dry With Purpose
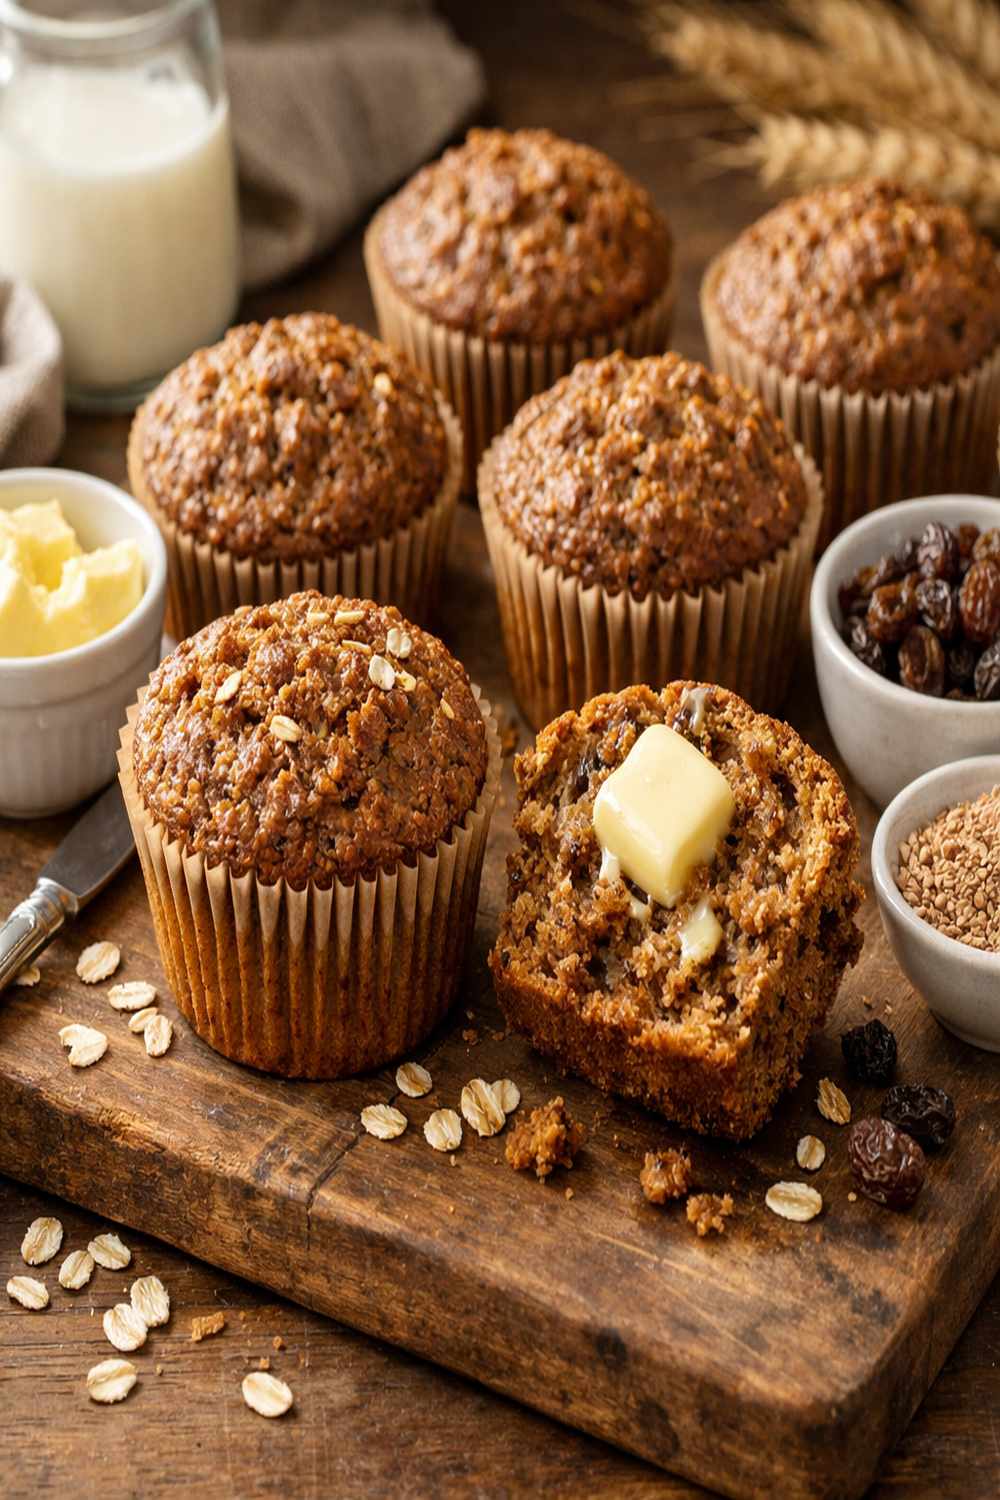
- Pour the wet ingredients into the bowl with your dry ingredients. Using a flexible whisk, stir until just combined—this is essential. Overmixing develops gluten, which makes muffins tough and dense. You're looking for a batter where you can no longer see streaks of dry flour, but lumps are completely acceptable. The batter should look thick and slightly shaggy. Switch to a rubber spatula and fold in the raisins and walnuts gently, being careful not to overwork the batter.

Step 5: Fill and Bake With the Two-Temperature Method
- Using an ice cream scoop or spoon, distribute the batter evenly among your muffin cups, filling each cup completely to the top. This creates the characteristic domed top that catches when you bite into it. Immediately place the muffin tin into your preheated 425°F oven and bake for exactly five minutes. Then, without removing the muffins, reduce the oven temperature to 350°F and bake for fourteen to fifteen additional minutes. This two-temperature method is a professional technique: the initial high heat creates oven spring and sets the structure quickly, while the lower temperature allows the interior to cook through without overbrowning the tops. A toothpick inserted into the center of a muffin should come out clean with just a few moist crumbs clinging to it—not completely dry.

Step 6: Cool Strategically for Storage Success
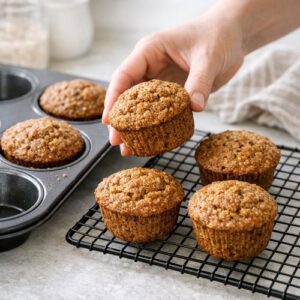
- Let the muffins cool in the tin for five minutes—this allows the structure to set without making them impossible to remove. Transfer each muffin to a wire cooling rack and let them cool to room temperature, about twenty minutes. Do not skip the wire rack; resting them in the pan traps steam, which makes the bottoms soggy and accelerates mold growth during storage. Once they're completely cool, they're ready for storage.