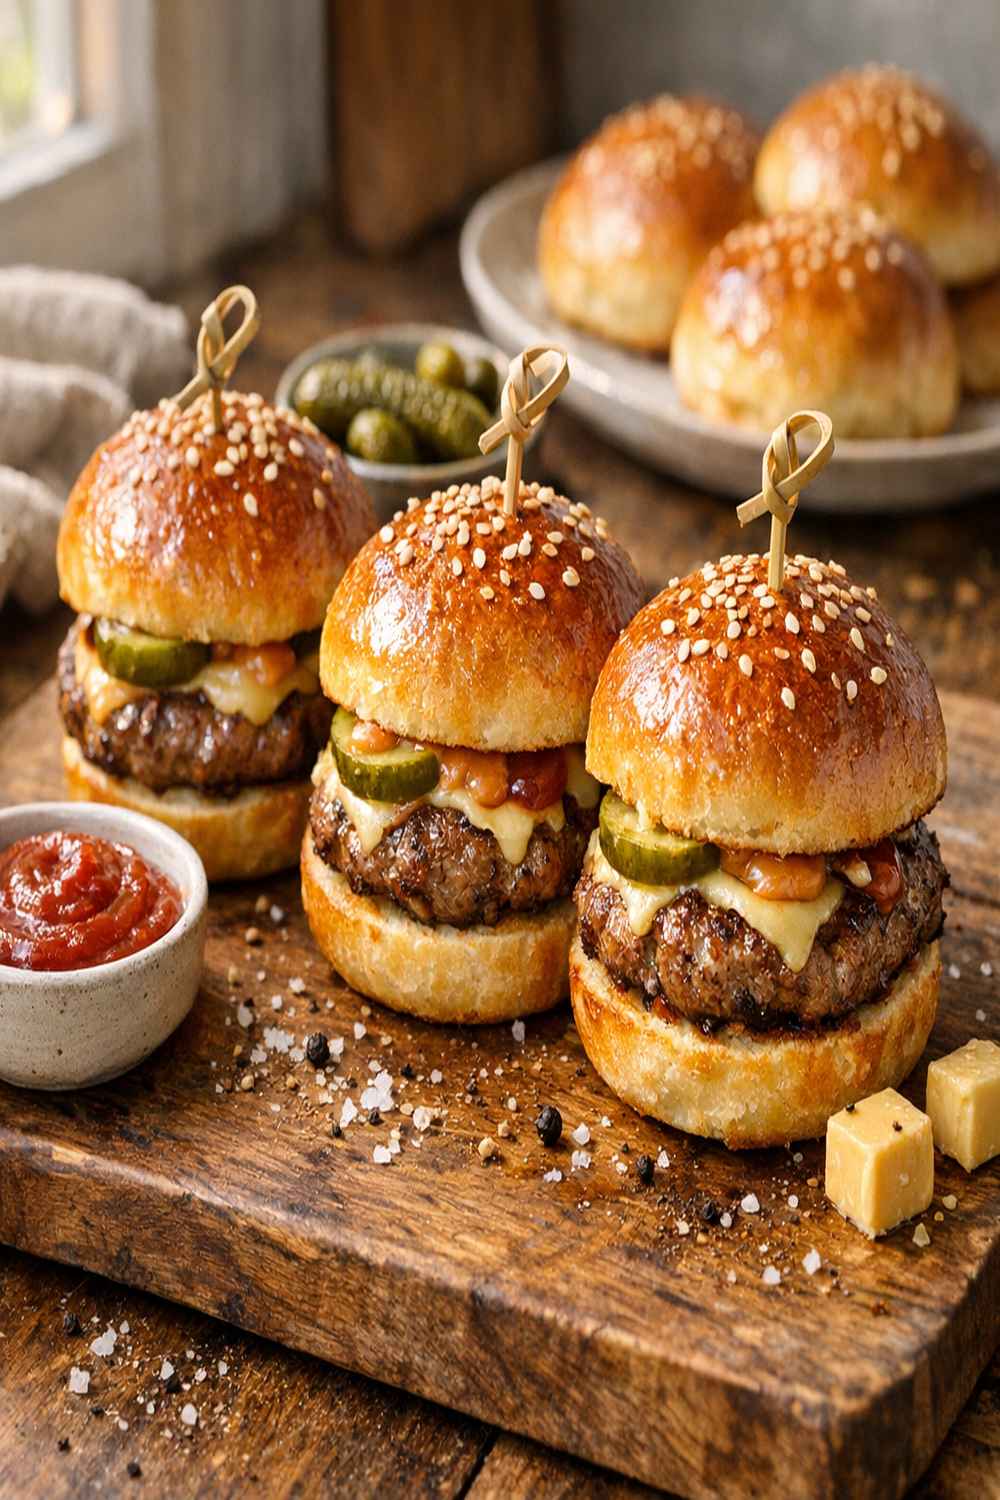

Ingredients
Method
Step 1: Create Your Flavor Foundation with the Dry Mix
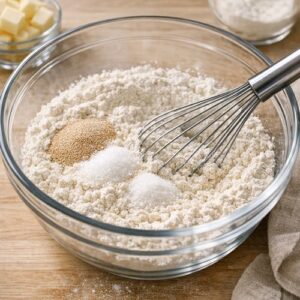
- In a large mixing bowl, whisk together your flour, yeast, sugar, and salt. This step is more important than it seems. By whisking these dry ingredients together thoroughly, you're distributing the yeast and salt evenly throughout the flour, which ensures consistent fermentation and flavor in every single bun. This is exactly what professional bakers do—they never dump ingredients into a heap. Whisking takes about 30 seconds and creates an even distribution that makes an enormous difference in your final result. Use a standard whisk or even a fork, stirring vigorously to break up any small clumps.
Step 2: Prepare Your Wet Mixture with Precision
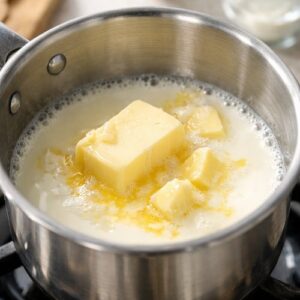
- In a small saucepan over medium heat, warm the butter and milk together until you see the butter just begin to melt. The moment it's nearly melted, remove the pan from heat. This low-temperature approach is crucial—if you overheat the butter and milk, you risk killing some of the yeast when you combine it with your other ingredients. Let this mixture cool for about two minutes so it's warm but not hot to the touch. This is your enrichment base, and getting the temperature right separates good brioche from exceptional brioche.
Step 3: Unite Your Wet and Dry Ingredients
- In a medium bowl, whisk together your lukewarm water with one egg until well combined. This creates an emulsion—a creamy, cohesive mixture that will distribute evenly through the flour. Now whisk in your cooled butter and milk mixture until everything is combined and looks slightly creamy. Pour this wet mixture over your flour mixture and, using a wooden spoon or rubber spatula, stir everything together until no dry flour remains. Your dough will look shaggy and quite sticky—this is exactly what you want. Resist the urge to add more flour here; brioche dough should be sticky and soft. If it looks too wet, you haven't mixed enough; if it looks too dry, your water was too cool or you packed your flour too tightly. Expert's Nutritional Tip The eggs and butter in this dough provide not just flavor and texture, but also important nutrients. The egg yolks contain choline, which supports brain health, while the butter provides fat-soluble vitamins A, D, E, and K. Brioche in moderation, as part of a balanced diet, offers more nutritional value than many commercial sandwich buns made with refined flour and added dough conditioners.

Step 4: The First Rise—Choose Your Timeline
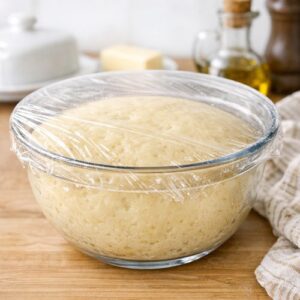
- Cover your bowl tightly with a lid or plastic wrap and place it in a warm, draft-free location. Here's where you have flexibility, and this is where I've discovered the real secret to restaurant-quality brioche: For the quick rise (2-4 hours): Leave the bowl on your kitchen counter in a warm spot. The dough should roughly double in size and look bubbly and alive. This is faster but requires you to be home and ready to shape the dough at a specific time. For the overnight rise (my preferred method): Cover the bowl and refrigerate it for 12-24 hours. This slow, cold fermentation is what fancy restaurants actually do, even though they won't tell you. The cold slows yeast activity while allowing flavor compounds to develop. You'll use less yeast, get more complex flavor, and have incredible flexibility with timing. The dough won't double much in the fridge, but when you remove it the next day, it will be bubbly underneath and ready to shape.
Step 5: Shape Your Dough with Precision
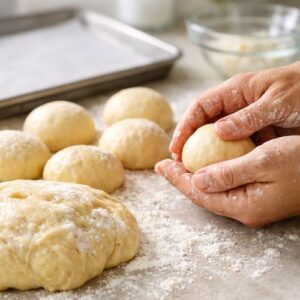
- Line a standard baking sheet with parchment paper. Turn your risen dough out onto a lightly floured work surface. With lightly floured hands, first gently gather the dough into a rough ball, then pat it into a flat rectangle. Using a dough scraper or bench knife, cut the dough into 18 equal pieces. For perfectly even buns, use a kitchen scale—each piece should weigh approximately 50-55 grams. This ensures they all bake at the same rate and create a visually uniform presentation. Now shape each piece into a smooth ball using the technique restaurants teach: take one piece, tuck the edges underneath toward the center, then pinch the seam together to seal. Place it pinched-side down on the work surface and use the gentle pressure of your palm to roll it in a circular motion, creating a smooth, taut surface. This shaping technique is what gives brioche buns their beautiful round shape and creates tension in the dough that helps them rise upward rather than spreading outward. Place each shaped bun about 2 inches apart on your prepared baking sheet. They need room to expand as they proof.
Step 6: The Second Rise—Bringing It All Together
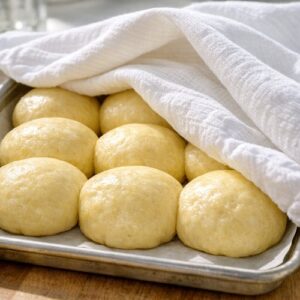
- Cover the baking sheet loosely with a clean kitchen towel and let the buns rise until they're puffy and light to the touch—you should be able to gently poke one and have the indentation slowly spring back about halfway. This typically takes about 1 hour at room temperature, or up to 2 hours if your dough came straight from the refrigerator. This is a visual test, not a timer test—don't rely on time alone. Every kitchen is different. Some buns might be ready in 45 minutes; others might need 90 minutes. Watch for the moment when they look pillowy but still have some structure.
Step 7: The Egg Wash—Your Signature Finish
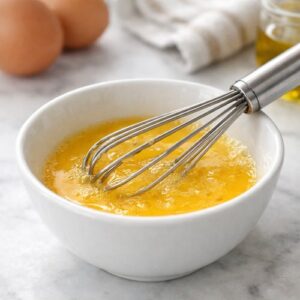
- When the buns are almost ready to bake, preheat your oven to 400°F. In a small bowl, whisk together your remaining egg with 1 tablespoon of water. This is your egg wash, and this simple step is what creates that restaurant-quality mahogany-golden crust. Using a pastry brush, gently brush this mixture over each bun. Don't oversaturate—a light, even coating is all you need. This egg wash will caramelize in the oven, creating both color and a subtle shine.
Step 8: Bake to Golden Perfection
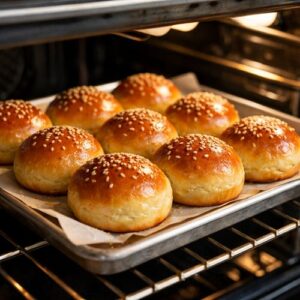
- Place your baking sheet in the preheated 400°F oven and bake for 12-15 minutes, rotating the sheet halfway through baking (around the 6-minute mark). Rotating halfway ensures that any hot spots in your oven don't cause uneven browning. You're looking for buns that are golden brown on top—not pale, not dark, but a warm, inviting golden hue. If the tops are browning too quickly but the bottoms aren't set, you can loosely tent the pan with aluminum foil for the final few minutes. Transfer the buns to a wire cooling rack immediately after removing them from the oven. This allows steam to escape, preventing the bottoms from becoming soggy. They'll continue to firm up as they cool.
Notes
- Packing the flour when measuring—this is the most common mistake. Scoop flour with a spoon, level it off with a knife, and never press down. Packed flour adds an extra 10-15% flour by weight, which dries out your dough. If you own a kitchen scale, use it instead.
- Using water that's too hot or too cold—water that's too hot (above 120°F) will kill the yeast; water that's too cold (below 100°F) won't activate fermentation properly. Aim for "hot tap water" temperature, around 110°F. If you're unsure, test it on your inner wrist—it should feel warm but not hot.
- Skipping the second rise or rushing it—underbaked brioche buns will be dense. The second rise is when they develop their signature pillowy texture. Watch for the visual cue (puffy, light to the touch) rather than relying on a timer.
- Not brushing with egg wash—this isn't optional if you want that restaurant shine and color. The egg wash makes an enormous visual and subtle flavor difference. It caramelizes under heat, creating the mahogany finish.