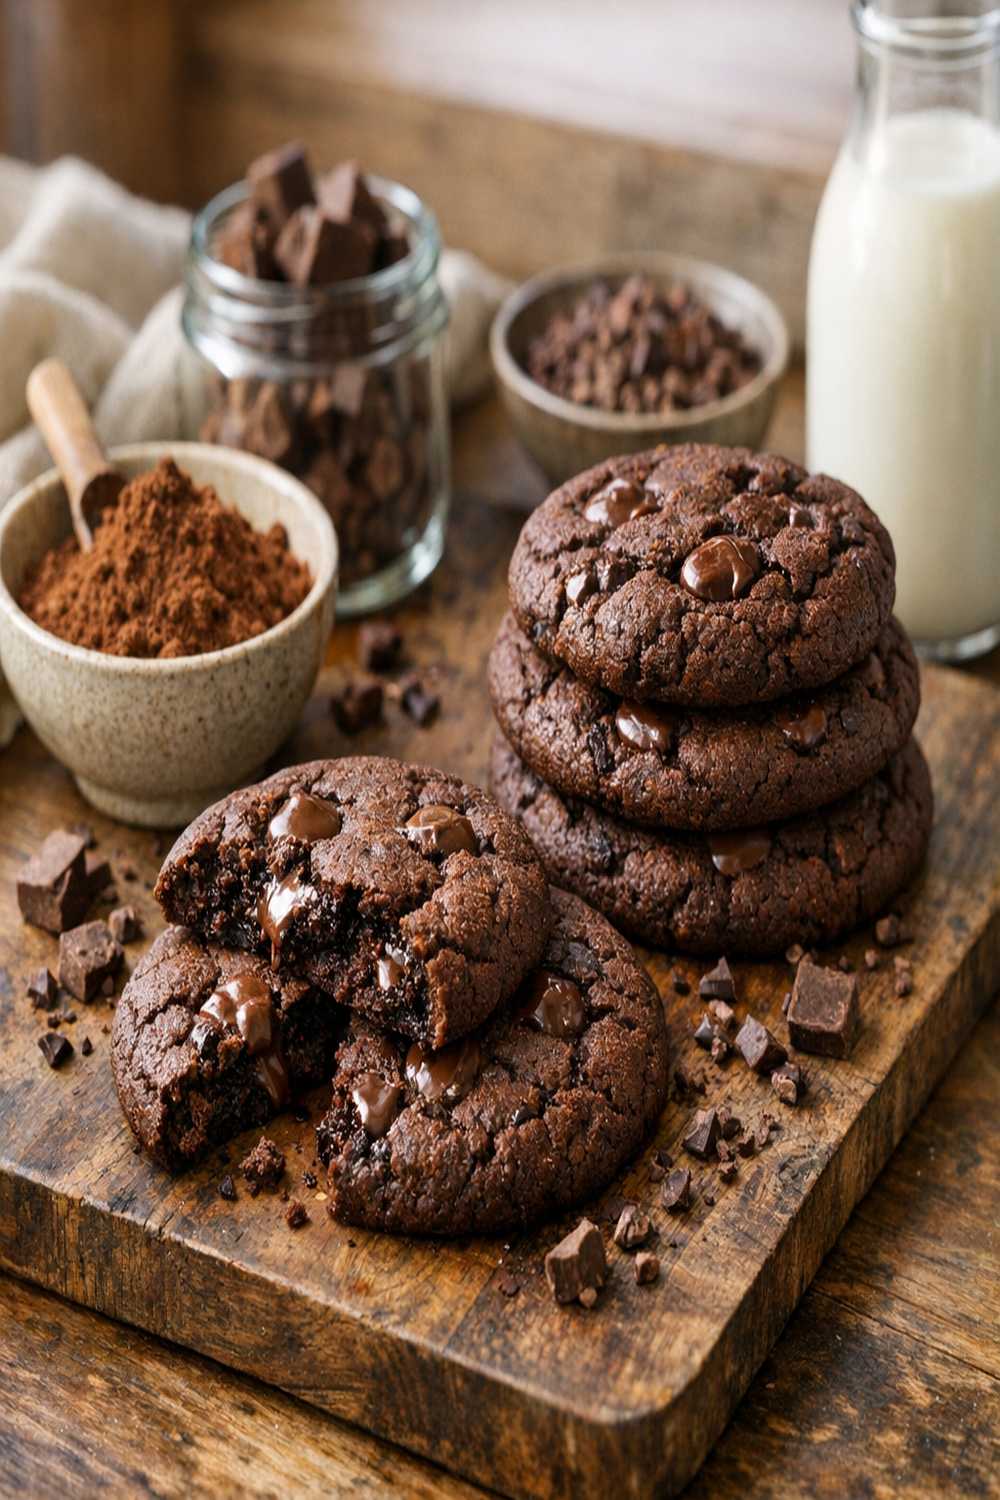

Ingredients
Method
Step 1: Prepare Your Stage and Ingredients
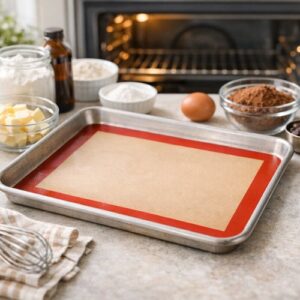
- Begin by positioning your oven rack in the center and preheating to 350°F (177°C). Line a baking sheet with parchment paper or a silicone mat—this ensures even heat distribution and prevents bottom browning that could compromise the visual appeal. Have all ingredients at room temperature before you start. Cold ingredients won't cream properly, which means your cookies won't have that beautiful domed shape.
Step 2: Whisk Dry Ingredients Together
- In a medium mixing bowl, combine the flour, cocoa powder, baking soda, and sea salt. Use a whisk to blend these thoroughly—don't skip this step. When you whisk rather than stir, you're aerating the flour and distributing the leavening evenly. This is what creates those gorgeous, uniform cracks across the surface. Set this mixture aside.

Step 3: Create Your Base Foundation
- In a large bowl, combine your softened butter and sugar. Using an electric mixer on medium speed, cream these together for approximately 3-4 minutes. You'll know you're done when the mixture turns pale and fluffy—this is crucial for visual texture. The air beaten into the butter creates lift, which results in that signature puffy dome rather than a flat disc. Scrape down the sides of your bowl to ensure even mixing.

Step 4: Incorporate Wet Ingredients
- Add your room-temperature egg to the creamed mixture and beat for about 1 minute until fully incorporated. The mixture should look slightly broken at first—this is normal. Add your vanilla extract and beat for another 30 seconds. You'll notice the mixture becoming smoother and more cohesive. This homogeneous texture is what allows the cookies to bake evenly.

Step 5: Combine Wet and Dry with Precision
- Now here's where technique matters for both texture and appearance: add your flour mixture in two additions rather than all at once. Add half, mixing on low speed just until you see no dry flour streaks. Scrape down your bowl completely—unmixed pockets of flour will create uneven browning. Add the remaining flour mixture and mix again briefly. Stop mixing as soon as the dough comes together. Overmixing develops gluten, which toughens the cookies and affects that tender crumb.

Step 6: Portion with Intention
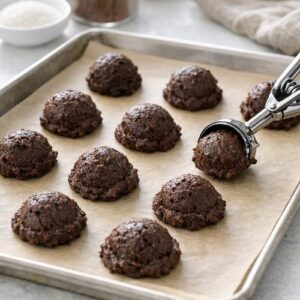
- Using a cookie scoop (about 2-tablespoon size), form dough balls and place them on your prepared baking sheet, spacing them about 2 inches apart. Uniformly sized dough balls are essential for uniform baking and that professional appearance. If you don't have a scoop, use two spoons to roughly divide the dough into 12-14 equal portions. Uniform cookies photograph beautifully and impress more than haphazard sizes.
Step 7: Bake with Precision Timing
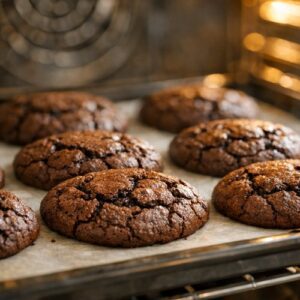
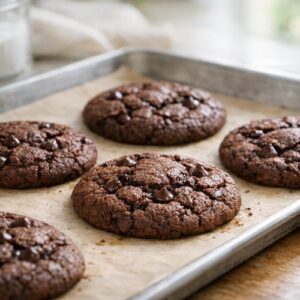
- Bake for 8-11 minutes—timing depends on your oven's personality. Watch for the moment when the tops appear set and slightly crackled, but the center still jiggles very slightly when you gently shake the pan. The cookies will continue cooking on the residual heat of the baking sheet. Remove them too early and they'll be too soft to move; too late and they'll bake through completely, losing that signature fudgy center.
Step 8: Cool with Patience for Perfect Texture
- Leave the cookies on the baking sheet for exactly 10 minutes—not less, not more. During this time, the residual heat sets the structure while the center remains soft. You'll see them firm up and potentially develop more surface cracks, which is exactly what you want. After 10 minutes, transfer them to a cooling rack to cool completely. This two-stage cooling process is what creates that perfect textural contrast between the set exterior and fudgy interior.
Notes
- Golden Hour Magic - Photograph these cookies in the hour before sunset when light is warm and directional. The golden light catches the crackled surface and creates shadows that emphasize texture. Avoid harsh midday sun, which flattens the colors.
- Shoot from 45 Degrees - Position your camera at a 45-degree angle to the cookies rather than directly overhead. This angle captures both the dome shape and the crackled surface, telling the complete visual story. It also shows that fudgy interior if you've broken one open slightly for the shot.
- Style with Intention - Include a cooling rack, a vintage spoon, or a cup of coffee in the frame. These contextual props tell the story of homemade comfort without distracting from the stars of the shot. The deep brown of the cookies contrasts beautifully against white china or natural wood.