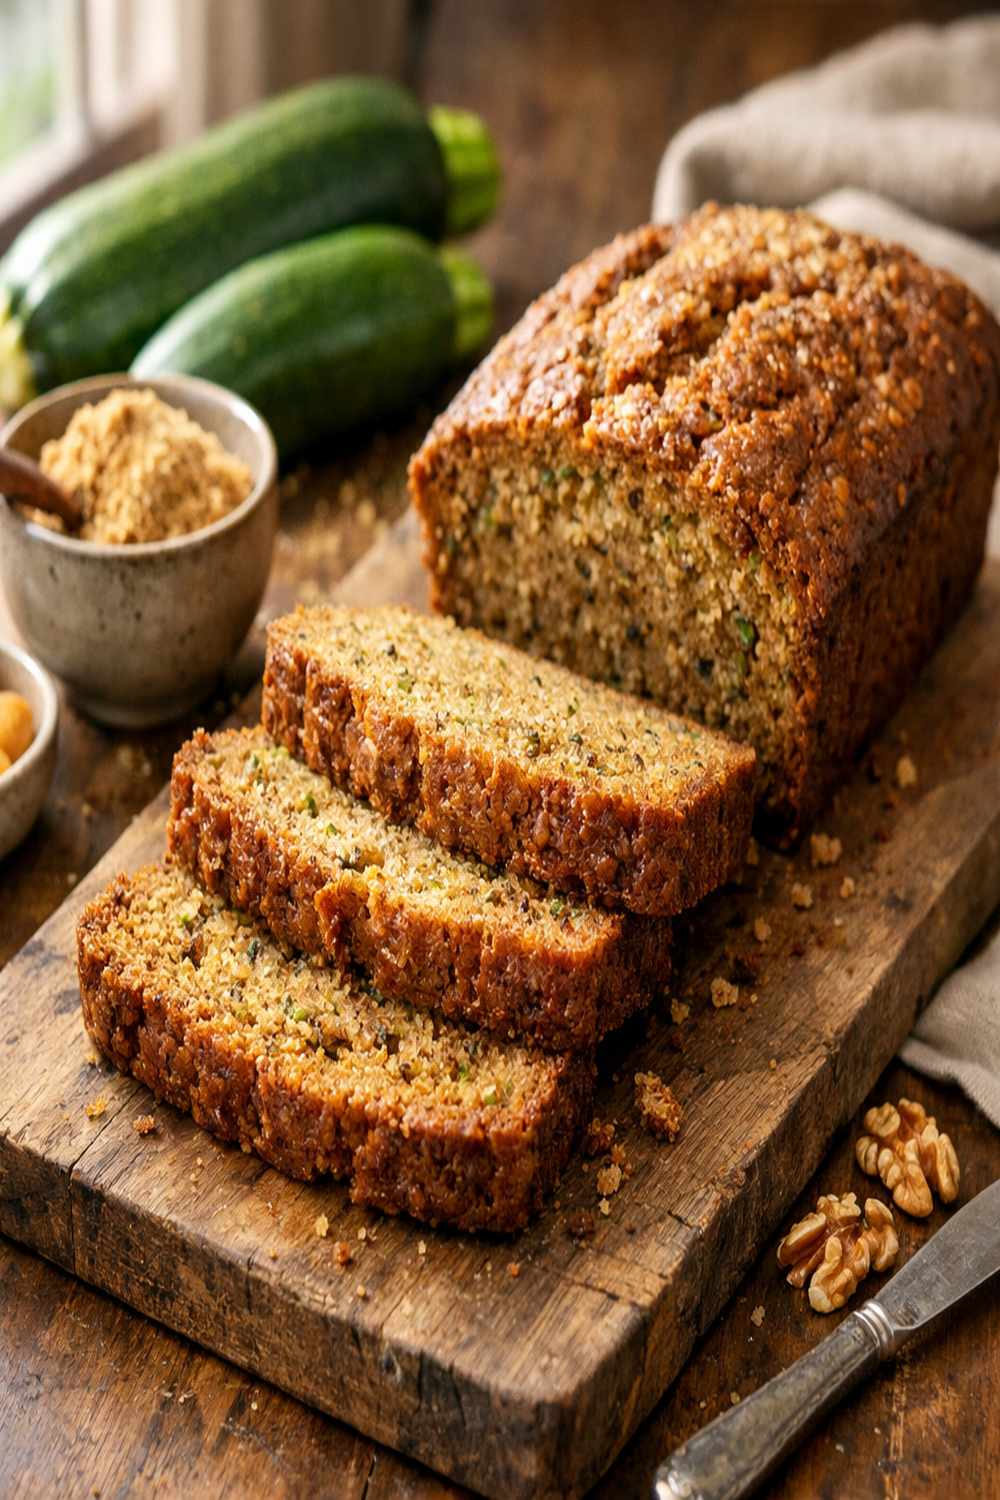

Ingredients
Method
Step 1: Prepare Your Pan and Preheat With Intention
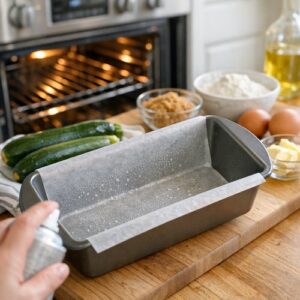
- Start by positioning your oven rack to the center position, then preheat to 350°F. While the oven comes to temperature, take a 9x5-inch loaf pan and coat it lightly with neutral oil or cooking spray—every interior corner should be covered. Line the entire inside with parchment paper, allowing a 2-inch overhang on the long sides. This overhang is crucial; it becomes your handle for lifting the finished loaf cleanly from the pan. Why 350°F and not 375°F? Zucchini bread needs gentle, steady heat. A hotter oven browns the exterior too quickly before the interior has time to bake through. You want golden exterior and moist interior happening simultaneously.
Step 2: Create Your Emulsion—The Foundation of Everything
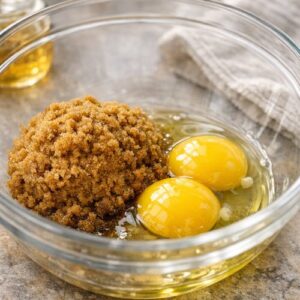
- In a large mixing bowl, combine your half cup of packed brown sugar with two large room-temperature eggs. This is your moment to understand emulsification. Using a whisk, beat these together for approximately one full minute until the mixture becomes noticeably lighter in color and slightly foamy. You're incorporating air and breaking down sugar crystals into tiny particles that distribute evenly. Add your half cup of neutral oil in a thin stream while continuing to whisk. You'll see the mixture become lighter and smoother—this is the oil binding with the egg yolk's lecithin, creating a stable emulsion that won't break. Whisk until completely smooth, about 30 seconds. Now fold in your half cup of Greek yogurt, whisking until no streaks remain. The mixture should look creamy, unified, and smooth. This emulsion is your structural foundation. Everything else depends on it remaining intact.
Step 3: Add Your Flavor Foundation
- To your emulsion, add one teaspoon of vanilla extract, half a teaspoon of kosher salt, and one and a quarter teaspoons of ground cinnamon. Whisk these in thoroughly so the cinnamon distributes evenly—you don't want spice clumps in your finished bread. The salt amplifies both the cinnamon and the subtle vegetable flavor coming. The vanilla adds depth without announcing itself. You should have a beautifully spiced, unified batter at this point.

Step 4: Incorporate Dry Ingredients With Respect for Structure
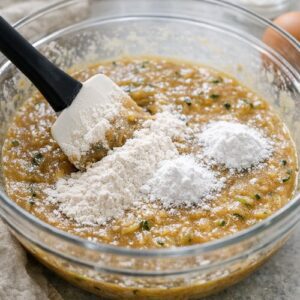
- Sprinkle your flour, baking powder, and baking soda directly over the wet mixture. This is where technique becomes critical. Using a rubber spatula, fold these dry ingredients into the wet mixture using a gentle, deliberate technique. Push the spatula down the center, sweep it across the bottom, and fold the bottom portion up and over. Rotate the bowl and repeat. Do this about 12-15 times until no dry flour streaks remain. This is the exact moment where most home bakers fail. They overmix, developing gluten, which creates tough, dense bread. It's okay if there are small lumps remaining—these will hydrate and disappear during baking. A slightly undermixed batter creates tender crumb. A fully mixed batter creates a brick.
Step 5: The Critical Step—Gentle Zucchini Folding
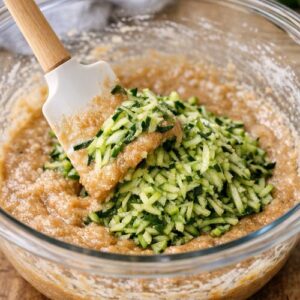
- Prepare your zucchini by grating it on the large holes of a box grater, leaving the skin on. You'll have approximately 1½ cups of shreds. Immediately place these in a clean kitchen towel and squeeze firmly over the sink—and I mean squeeze. You want to remove as much excess moisture as possible. The more liquid you eliminate now, the better your bread's texture will be. When you open the towel, the zucchini should be noticeably drier. Fold the squeezed zucchini into your batter using the same gentle folding technique—push, sweep, fold, rotate. The batter will look thick and studded with green. You should see the zucchini distributed throughout, not clumped in sections. The batter should come together without any white flour streaks.
Step 6: Transfer and Bake With Patience
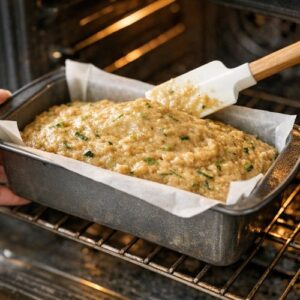
- Pour your batter into the parchment-lined loaf pan, using a spatula to even the top into a gentle mound. Place the pan on the center oven rack and set your timer for 45 minutes as a starting point. Most loaves finish between 45-55 minutes depending on your oven's characteristics. Around minute 35, observe the top. If it's already deep golden brown while the center still looks wet, tent the pan loosely with aluminum foil. This prevents over-browning while the interior finishes baking. The top should be golden brown—not pale, not dark. If it's still pale at 45 minutes, let it continue. The true test is the toothpick method: insert a toothpick or thin skewer into the absolute center of the loaf. When done, it should come out with just a few moist crumbs clinging to it—not wet batter, but not completely clean either. This is called "moist crumbs" and it's the hallmark of properly baked quick bread.
Step 7: Cool With a Strategic Timeline
- Remove the pan from the oven and place it on a wire rack. Let it rest for exactly 20 minutes. During this time, carryover cooking continues, and the bread sets just enough to release cleanly from the pan without falling apart. After 20 minutes, grip the parchment overhang and lift the loaf from the pan. Place it directly onto the wire rack (no pan) and allow it to cool completely—a full hour is ideal. Slicing warm bread tears the crumb; cooled bread slices cleanly. This patience is part of technique.
Notes
- Dense, Gummy Bread - This happens when you don't squeeze enough moisture from the zucchini, or when you overmix the batter. Solution: In the future, squeeze the zucchini aggressively, and use the fold-and-rotate technique rather than stirring. If this already happened, your bread is still edible—slice it thinner and toast the slices lightly
- Tunneling (Large Air Pockets) - This indicates overmixing and too-vigorous incorporation of leavening agents. Solution: Mix more gently. The batter should look slightly lumpy when the zucchini is folded in. Gentle is always better than thorough in quick breads
- Dry, Crumbly Texture - Usually caused by overbaking or using too much flour (from packing it into the measuring cup). Solution: Measure flour by spooning it into the cup and leveling with a knife. Use the toothpick test religiously. If this happened, you can salvage slices by toasting them and serving with nut butter or cream cheese
- Sinking Center or Crater Top - Often indicates oven temperature was too high, causing the exterior to set before the interior fully rises. Solution: Use an oven thermometer to verify your oven runs at 350°F. Some ovens run 25 degrees hot or cold, which completely changes results